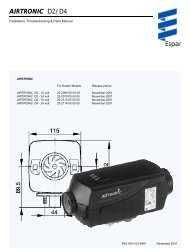
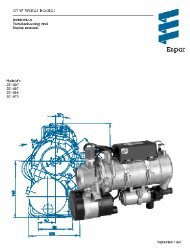
Hydronic 10 (Water Heater) - Parts Manuals
Hydronic 10 (Water Heater) - Parts Manuals
Hydronic 10 (Water Heater) - Parts Manuals

You also want an ePaper? Increase the reach of your titles
YUMPU automatically turns print PDFs into web optimized ePapers that Google loves.
14<br />
Push/Pull Switch<br />
• Mount switch in a location where it is easily accessible<br />
• Mount using hardware supplied<br />
• Connect the switch harness to the connector at the heater<br />
and run the harness to the switch location<br />
• Cut harness to length at the switch and install terminals<br />
• Connect wiring as described below<br />
P/N CA1 00 003 (12v)<br />
P/N CA1 00 004 (24v)<br />
Note:<br />
Wired described the switch light glows when<br />
pulled out and is off when pushed in.<br />
Brown- 31 Power from battery “-”<br />
Red- K(15) Power from battery “+”<br />
Yellow-15(K)<br />
Blue/White<br />
Switch control to the heater<br />
Diagnostic from heater (disregard - tape end<br />
and tie off to the side)<br />
99 Hour Digital Timer<br />
This timer is pre-set by Espar to operate the heater for one (1)<br />
hour only. See installation and operating instructions provided<br />
with timer if other run times are desired.<br />
• Mount the timer using a (2”) hole in the dash or use the<br />
optional mounting bracket.<br />
• Mount timer using hardware supplied.<br />
• Connect the switch harness to the connector at the heater<br />
and run the harness to the switch location.<br />
• Cut harness to length and install terminals.<br />
• Install connector provided and attach.<br />
Red -Red<br />
Yellow -Yellow<br />
Brown -Brown<br />
P/N CA1 00 051<br />
Optional mounting<br />
bracket<br />
P/N CA0 00 032