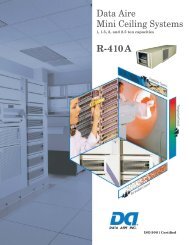
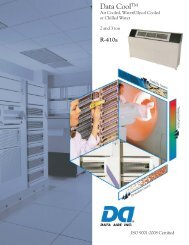
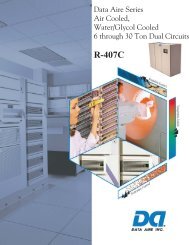
Installation, Operation and Maintenance Manual - Data Aire
Installation, Operation and Maintenance Manual - Data Aire
Installation, Operation and Maintenance Manual - Data Aire

You also want an ePaper? Increase the reach of your titles
YUMPU automatically turns print PDFs into web optimized ePapers that Google loves.
2.6 Leak Testing<br />
No installation is complete until the entire system has been thoroughly checked for leaks. This includes<br />
checking refrigerant tubing, fl are fi ttings, pressure controls, shraeder fi ttings <strong>and</strong> compressor<br />
rotolock service valves. Check both fi eld <strong>and</strong> factory connections.<br />
In addition to the refrigeration system, check all condenser water lines, humidifi er make-up lines,<br />
condensate lines, condensate pumps, chilled water lines, centrifugal pumps <strong>and</strong> fl uid coolers as<br />
applicable.<br />
When h<strong>and</strong>ling or recovering refrigerant it is not permissible to release refrigerant into the atmosphere.<br />
Many leak-test methods recommended in the past are no longer possible. Current st<strong>and</strong>ard<br />
practices must be used.<br />
Pressurize system circuit to 150 PSIG (1034 kPa) by using dry nitrogen with a trace of refrigerant.<br />
Check the entire system for leaks with suitable leak fi nder (per local code) including but limited to<br />
all braze joints, caps, fi ttings <strong>and</strong> fl are nuts on both fi eld <strong>and</strong> factory furnished components. After<br />
completion of leak testing, release test pressure <strong>and</strong> pull a vacuum on the system.<br />
NOTE: Tightening of fi ttings <strong>and</strong> valves is the responsibility of the installing contractor<br />
2.7 Evacuation<br />
Evacuate the refrigerant lines, condenser coil <strong>and</strong> evaporator coil to 250 microns or lower (a micron<br />
gauge <strong>and</strong> 2-stage vacuum pump are required). Valve off <strong>and</strong> turn off the vacuum pump <strong>and</strong><br />
wait for at least fi fteen minutes to make sure the micron gauge reading does not go back up above<br />
700 microns. If it does, re-start the vacuum pump <strong>and</strong> evacuate until the system reaches 250<br />
microns. If the system still does not hold the pressure below 700 microns the system needs to be<br />
rechecked for leaks.<br />
After the system has been satisfactorily evacuated the unit can be charged with refrigerant. Connect<br />
the pressure gauge manifold set to the high <strong>and</strong> low ports near the compressor, connect the<br />
charging line to the refrigerant tank <strong>and</strong> set it for liquid feed. Open the refrigerant tank valve <strong>and</strong><br />
purge the line at the manifold, then open the high side valve on the manifold only, <strong>and</strong> allow the<br />
refrigerant to fl ow until the system pressure equalizes. At this point the system will have 75 to<br />
80% of the total refrigerant charge. Start the blower <strong>and</strong> then the compressor checking the operating<br />
pressure <strong>and</strong> temperatures.<br />
WARNING: DO NOT APPLY POWER TO THE COMPRESSOR WHEN IN A VACUUM<br />
15