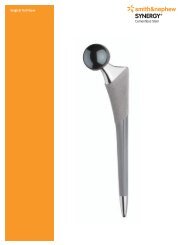
*smith&nephew; EP-FIT PLUSâ¢
*smith&nephew; EP-FIT PLUSâ¢
*smith&nephew; EP-FIT PLUSâ¢

Create successful ePaper yourself
Turn your PDF publications into a flip-book with our unique Google optimized e-Paper software.
Implantation of the titanium shell using<br />
the shell inserter (US version)<br />
The shell inserter (130987) can be used<br />
instead of the trial shell inserter.<br />
Verification of position in the acetabulum<br />
The distance (1–2 mm) between the implant<br />
and the acetabulum is measured using<br />
the depth gauge for shell (130731) through<br />
the apex hole.<br />
Note<br />
Additional fixation of the <strong>EP</strong>-<strong>FIT</strong> PLUS press-fit<br />
shell by screws is not routinely necessary,<br />
but may be required routinely in certain circumstances.<br />
Fixation of the shell with screws<br />
The procedure is the same as for “Implantation<br />
of the titanium shell using the shell inserter”<br />
above, but the screw holes should be aligned<br />
in a superolateral position upon insertion of<br />
the shell.<br />
Drill the intended holes using the drill guide<br />
(130847) and flexible drill shaft (130490).<br />
Insert the screws into the pelvis with the screwdriver<br />
(130710). An anterior or central position<br />
of the screws must at all times be avoided as<br />
this could result in damage to the large pelvic<br />
vessels and nerves.<br />
Note<br />
Only Smith&Nephew Orthopaedics cancellous<br />
bone screws (25281–25286) with a low<br />
head profile are to be used.<br />
10