AL-2021/2041 Operation-Manual GB - Sharp
AL-2021/2041 Operation-Manual GB - Sharp
AL-2021/2041 Operation-Manual GB - Sharp

You also want an ePaper? Increase the reach of your titles
YUMPU automatically turns print PDFs into web optimized ePapers that Google loves.
Button Manager settings<br />
Once installed, Button Manager normally runs in the background in the Windows<br />
operating system. If you need to change Button Manager settings, follow the steps below.<br />
For details on Button Manager settings, see Button Manager Help.<br />
"Outline of Button Manager" (p.56)<br />
1<br />
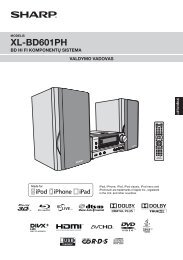
Right-click the Button Manager icon ( ) on the task bar, and<br />
select "Settings" from the pop-up menu.<br />
The setting screen of Button Manager will open.<br />
If the Button Manager icon does not appear on the task bar, click the<br />
"Start" button, select "All Programs" ("Programs" in Windows 2000),<br />
select "<strong>Sharp</strong> Button Manager Y", and then click "Button Manager" to<br />
start Button Manager.<br />
2<br />
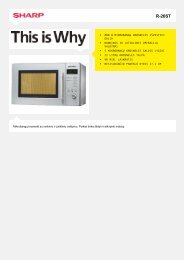
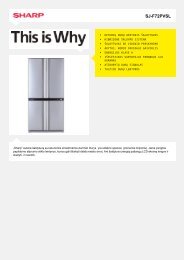
Click the tab of the scan menu that you want to set up.<br />
3<br />
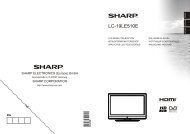
Select the start-up application in the "Application Selection"<br />
area.<br />
When the "Show TWAIN setting screen when scanning" checkbox is<br />
selected, the scan setting screen appears when scanning is executed to<br />
let you adjust the scanning conditions.<br />
Button Manager scan menu (factory default)<br />
Display/Button Manager menu Application that starts<br />
SC1:<br />
<strong>Sharp</strong>desk<br />
SC2:<br />
Email<br />
SC3:<br />
FAX<br />
SC4:<br />
OCR<br />
SC5:<br />
Microsoft Word<br />
SC6:<br />
Filing<br />
6<br />
The start-up application must be installed before using.<br />
4<br />
5<br />
Set up the "Colour Mode", "Edge" and other scan settings in<br />
the "Scan Setup" area.<br />
Click the "OK" button.<br />
This completes the settings.<br />
55