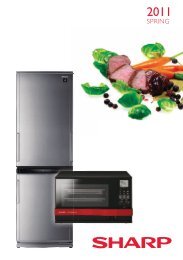

You also want an ePaper? Increase the reach of your titles
YUMPU automatically turns print PDFs into web optimized ePapers that Google loves.
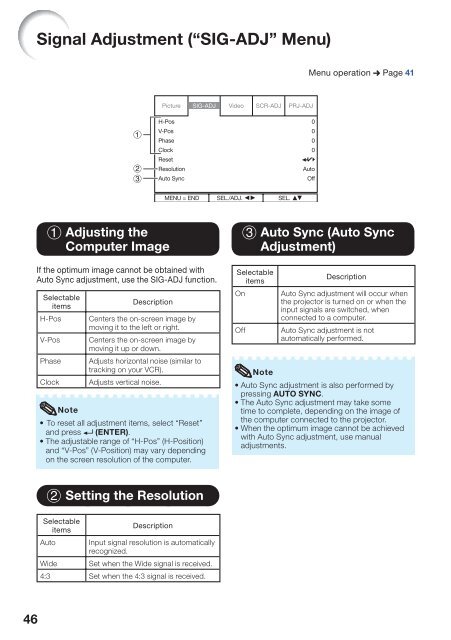
Signal Adjustment (“SIG-ADJ” Menu)<br />
Menu operation n Page 41<br />
Picture SIG-ADJ Video SCR-ADJ PRJ-ADJ<br />
H-Pos<br />
V-Pos<br />
Phase<br />
Clock<br />
Reset<br />
Resolution<br />
Auto Sync<br />
0<br />
0<br />
0<br />
0<br />
Auto<br />
Off<br />
MENU = END SEL./ADJ. SEL.<br />
1 Adjusting the<br />
Computer Image<br />
If the optimum image cannot be obtained with<br />
Auto Sync adjustment, use the SIG-ADJ function.<br />
Selectable<br />
items<br />
H-Pos<br />
V-Pos<br />
Phase<br />
Clock<br />
Description<br />
Centers the on-screen image by<br />
moving it to the left or right.<br />
Centers the on-screen image by<br />
moving it up or down.<br />
Adjusts horizontal noise (similar to<br />
tracking on your VCR).<br />
Adjusts vertical noise.<br />
Note<br />
• To reset all adjustment items, select “Reset”<br />
and press (ENTER).<br />
• The adjustable range of “H-Pos” (H-Position)<br />
and “V-Pos” (V-Position) may vary depending<br />
on the screen resolution of the computer.<br />
3 Auto Sync (Auto Sync<br />
Adjustment)<br />
Selectable<br />
items<br />
On<br />
Off<br />
Description<br />
Auto Sync adjustment will occur when<br />
the projector is turned on or when the<br />
input signals are switched, when<br />
connected to a computer.<br />
Auto Sync adjustment is not<br />
automatically performed.<br />
Note<br />
• Auto Sync adjustment is also performed by<br />
pressing AUTO SYNC.<br />
• The Auto Sync adjustment may take some<br />
time to complete, depending on the image of<br />
the computer connected to the projector.<br />
• When the optimum image cannot be achieved<br />
with Auto Sync adjustment, use manual<br />
adjustments.<br />
2 Setting the Resolution<br />
Selectable<br />
items<br />
Auto<br />
Description<br />
Input signal resolution is automatically<br />
recognized.<br />
Set when the Wide signal is received.<br />
Wide<br />
4:3 Set when the 4:3 signal is received.<br />
46