BlackArmor WS 110 - Seagate
BlackArmor WS 110 - Seagate
BlackArmor WS 110 - Seagate

Create successful ePaper yourself
Turn your PDF publications into a flip-book with our unique Google optimized e-Paper software.
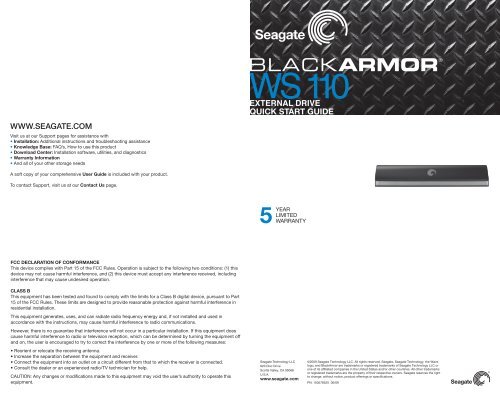
QUICK START GUIDE<br />
WWW.SEAGATE.COM<br />
Visit us at our Support pages for assistance with<br />
• Installation: Additional instructions and troubleshooting assistance<br />
• Knowledge Base: FAQ’s, How to use this product<br />
• Download Center: Installation software, utilities, and diagnostics<br />
• Warranty Information<br />
• And all of your other storage needs<br />
A soft copy of your comprehensive User Guide is included with your product.<br />
?<br />
To contact Support, visit us at our Contact Us page.<br />
FCC DECLARATION OF CONFORMANCE<br />
This device complies with Part 15 of the FCC Rules. Operation is subject to the following two conditions: (1) this<br />
device may not cause harmful interference, and (2) this device must accept any interference received, including<br />
interference that may cause undesired operation.<br />
CLASS B<br />
This equipment has been tested and found to comply with the limits for a Class B digital device, pursuant to Part<br />
15 of the FCC Rules. These limits are designed to provide reasonable protection against harmful interference in<br />
residential installation.<br />
This equipment generates, uses, and can radiate radio frequency energy and, if not installed and used in<br />
accordance with the instructions, may cause harmful interference to radio communications.<br />
However, there is no guarantee that interference will not occur in a particular installation. If this equipment does<br />
cause harmful interference to radio or television reception, which can be determined by turning the equipment off<br />
and on, the user is encouraged to try to correct the interference by one or more of the following measures:<br />
• Reorient or relocate the receiving antenna.<br />
• Increase the separation between the equipment and receiver.<br />
• Connect the equipment into an outlet on a circuit different from that to which the receiver is connected.<br />
• Consult the dealer or an experienced radio/TV technician for help.<br />
CAUTION: Any changes or modifications made to this equipment may void the user’s authority to operate this<br />
equipment.<br />
<strong>Seagate</strong> Technology LLC<br />
920 Disc Drive<br />
Scotts Valley, CA 95066<br />
U.S.A.<br />
www.seagate.com<br />
©2009 <strong>Seagate</strong> Technology LLC. All rights reserved. <strong>Seagate</strong>, <strong>Seagate</strong> Technology, the Wave<br />
logo, and <strong>BlackArmor</strong> are trademarks or registered trademarks of <strong>Seagate</strong> Technology LLC or<br />
one of its affiliated companies in the United States and/or other countries. All other trademarks<br />
or registered trademarks are the property of their respective owners. <strong>Seagate</strong> reserves the right<br />
to change, without notice, product offerings or specifications.<br />
PN: 100578525 06/09
THANKS FOR PURCHASING A BLACKARMOR ® <strong>WS</strong> <strong>110</strong> EXTERNAL DRIVE<br />
KIT CONTENTS<br />
OPTIONAL<br />
AC Adaptor USB Cable <strong>Seagate</strong> <strong>BlackArmor</strong> <strong>WS</strong> <strong>110</strong> Drive<br />
eSATA Cable<br />
Stand<br />
Cable not included.<br />
1 Power<br />
2 Connect<br />
Install<br />
3<br />
After drive is connected, software<br />
installer automatically launches or<br />
double-click Setup.exe on drive.<br />
Visit http://support.seagate.com/<br />
autorun for additional instructions.<br />
Follow the on-screen instructions.<br />
RECOMMENDED: Create Recovery CD<br />
Be sure to create a system recovery CD using<br />
<strong>BlackArmor</strong> Backup Software. Your system and<br />
data can be restored using this CD. See the<br />
<strong>BlackArmor</strong> Backup User Guide for instructions.<br />
To begin the installation process using an eSATA<br />
cable, double-click the My Computer icon,<br />
then <strong>BlackArmor</strong> Drive to locate Setup.exe.