Saab 9-5 - SaabDocs.com
Saab 9-5 - SaabDocs.com
Saab 9-5 - SaabDocs.com

Create successful ePaper yourself
Turn your PDF publications into a flip-book with our unique Google optimized e-Paper software.
SCdefault<br />
9-5 Installation instructions<br />
SITdefault<br />
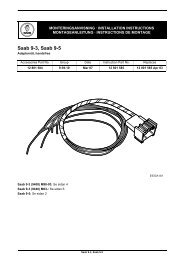
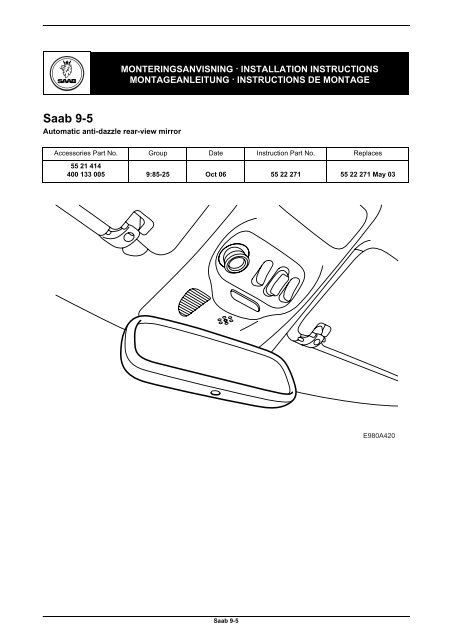
<strong>Saab</strong> 9-5<br />
Automatic anti-dazzle rear-view mirror<br />
MONTERINGSANVISNING · INSTALLATION INSTRUCTIONS<br />
MONTAGEANLEITUNG · INSTRUCTIONS DE MONTAGE<br />
Accessories Part No. Group Date Instruction Part No. Replaces<br />
55 21 414<br />
400 133 005 9:85-25 Oct 06 55 22 271 55 22 271 May 03<br />
E980A420<br />
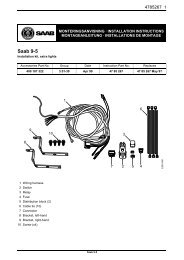
<strong>Saab</strong> 9-5
2 55 22 271<br />
2<br />
1<br />
3 4 5<br />
6<br />
E980A421<br />
1 Rear-view mirror (purchased separately)<br />
2 Wiring harness<br />
3 Clip<br />
4 Cable terminal<br />
5 Cable terminal<br />
6 Wiring harness<br />
<strong>Saab</strong> 9-5
55 22 271 3<br />
2<br />
1<br />
2<br />
4<br />
3<br />
E980A218<br />
1 Remove the lens.<br />
2 Remove the screw and the roof console.<br />
3 Remove the connectors for the temperature<br />
sensor and microphone if fitted.<br />
4 Remove the rear-view mirror. Remove the fuse<br />
for interior lighting (no. 20 in the dashboard electrical<br />
centre).<br />
<strong>Saab</strong> 9-5
4 55 22 271<br />
6<br />
6<br />
6<br />
10<br />
9<br />
E980A422<br />
5 Unplug the connector and prise out the cable<br />
terminals from position 5 (RD/WH) and position<br />
8 (BK) in the female connector.<br />
6 Pair together each cable with the corresponding<br />
cable from the kit's long wiring harness (red/<br />
white with red/white in the small cable terminal<br />
and black with black in the large cable terminal)<br />
and fit the cable terminals in the connector, red/<br />
white (RD/WH) to pin 5 and black (BK) to pin 8.<br />
7 Connect the connector and press it firmly into<br />
the clip.<br />
8 Carefully remove the tape from one connector<br />
on the kit's short wiring harness.<br />
Important<br />
The tape will be used later.<br />
Connect the kit's short wiring harness to the kit's<br />
long wiring harness.<br />
9 Connect the kit's short wiring harness to the<br />
rear-view mirror and fit the tape around the three<br />
connectors. Fit the rear-view mirror.<br />
Tightening torque 3 Nm (2 lbf ft)<br />
WARNING<br />
Make sure the wiring harness is not pinched.<br />
Incorrect fitting can damage the cables and cause<br />
short-circuits/fire.<br />
10 Cars with Vehicle Identification Number up<br />
to and including X3075366: Position the wiring<br />
harness on top of the headlining and fit the connector<br />
for the kit's long and short wiring harnesses<br />
using the clip supplied.<br />
Cars with Vehicle Identification Number from<br />
and including X3075367: Position the wiring<br />
harness on top of the headlining and fit the connector<br />
for the kit's long and short wiring harnesses<br />
by pressing it firmly into the groove.<br />
11 Position the connector for the kit's short wiring<br />
harness and rear-view mirror between the rearview<br />
mirror base and the connector fitted in the<br />
previous step.<br />
12 Connect the connectors for the temperature<br />
sensor and microphone if fitted.<br />
13 Fit the roof console and lens.<br />
14 Fit the fuse for the interior lighting.<br />
15 Rear-view mirror with <strong>com</strong>pass: Calibrate the<br />
<strong>com</strong>pass, see page 5. If necessary, change<br />
<strong>com</strong>pass zone, see page 5.<br />
16 Hand over the installation instructions to the<br />
customer and bring attention to the user instructions.<br />
<strong>Saab</strong> 9-5
55 22 271 5<br />
3<br />
4<br />
5<br />
6<br />
7<br />
8<br />
9<br />
13<br />
1<br />
15<br />
12<br />
11<br />
10<br />
2<br />
3<br />
4<br />
14<br />
13<br />
5<br />
6<br />
7<br />
8<br />
9<br />
10<br />
12<br />
11<br />
D980A352<br />
User instructions<br />
The rear-view mirror has two sensors, one facing<br />
the front and the other facing the rear. When the<br />
front-facing sensor detects that it is dark outside, the<br />
system will be activated so that any bright light falling<br />
from behind will gradually darken the rear-view<br />
mirror to reduce the brightness. As the bright light<br />
subsides, the mirror will gradually return to normal.<br />
Automatic anti-dazzle can be switched off using the<br />
button under the rear-view mirror. For other questions,<br />
refer to the Owner's Manual.<br />
Calibration/Programming<br />
Rear-view mirror with <strong>com</strong>pass: Calibrate the<br />
<strong>com</strong>pass by holding the “AUTO” button depressed<br />
until “CAL” and a <strong>com</strong>pass point are shown in the<br />
<strong>com</strong>pass window. Release the button. Slowly drive<br />
the car in a circle until “CAL” disappears. The <strong>com</strong>pass<br />
is now calibrated. For other questions, refer to<br />
the Owner's Manual.<br />
Rear-view mirror with <strong>com</strong>pass: Change the <strong>com</strong>pass<br />
zone by holding the “AUTO” button depressed<br />
until “ZONE” and a <strong>com</strong>pass point are shown in the<br />
<strong>com</strong>pass window. Release the button. You can now<br />
change the <strong>com</strong>pass zone using the “AUTO” button<br />
(see illustration for <strong>com</strong>pass zone options). Release<br />
the “AUTO” button once the correct <strong>com</strong>pass zone<br />
has been selected. Once “ZONE” disappears, the<br />
<strong>com</strong>pass zone is stored. For other questions, refer<br />
to the Owner's Manual.<br />
Rear-view mirror with garage door remote control:<br />
For programming, see the Owner's Manual.<br />
<strong>Saab</strong> 9-5