Palco 3/5 - Prolight
Palco 3/5 - Prolight Palco 3/5 - Prolight
SGM Elettronica - Light Technology GB Step 3 - CHOOSING THE DAY DAY=FRI 1. Use the UP key to pass to the “DAY=MON” menu 2. Press “Enter” and “DAY=” will begin to flash 3. Use the UP/DOWN keys to choose the day of the week on which the event must begin. The days of the week are expressed as follows: - ALL Every day - MON Monday - TUE Tuesday - WED Wednesday - THU Thursday - FRI Friday - SAT Saturday - SUN Sunday 4. Press “Enter” to exit the DAY menu and confirm Step 4 - START TIME START TIME is used to configure: the hour, minutes and seconds in which an event containing a previously prepared program will start. START_h=21 START_m=15 START_s=30 1. Use the UP key to pass to the “START_h=0” menu 2. Press “Enter” and “STIME_h=” will begin to flash 3. Use the UP/DOWN keys to choose the hour at which the program has to start (from 0 to 23) 4. Press “Enter” to exit the “START_h” menu and confirm 1. Use the UP key to pass to the “START_m=0” menu 2. Press “Enter” and “START_m=” will begin to flash 3. Use the UP/DOWN keys to choose the minutes at which the program has to start (from 0 to 59) 4. Press “Enter” to exit the “START_m” menu and confirm 1. Use the UP key to pass to the “START_s=0” menu 2. Press “Enter” and “START_s=” will begin to flash 3. Use the UP/DOWN keys to choose the seconds at which the program has to start (from 0 to 59) 4. Press “Enter” to exit the “START_s” menu and confirm User's manual 1.01 - 38 - Palco 3 - Palco 5
GB SGM Elettronica - Light Technology Step 5 - END TIME END TIME is used to configure: the hour, minutes and seconds in which an event containing a previously prepared program will end. END_h=23 END_m=30 END_s=30 1. Use the UP key to pass to the “END_h=0” menu 2. Press “Enter” and “END_h=” will begin to flash 3. Use the UP/DOWN keys to choose the hour at which the program has to end (from 0 to 23) 4. Press “Enter” to exit the “END_h” menu and confirm 1. Use the UP key to pass to the “END_m=0” menu 2. Press “Enter” and “END_m=” will begin to flash 3. Use the UP/DOWN keys to choose the minutes at which the program has to end (from 0 to 59) 4. Press “Enter” to exit the “END_m” menu and confirm 1. Use the UP key to pass to the “END_s=0” menu 2. Press “Enter” and “END_s=” will begin to flash 3. Use the UP/DOWN keys to choose the seconds at which the program has to end (from 0 to 59) 4. Press “Enter” to exit the “END_s” menu and confirm Step 6 – ENABLING AN EVENT ENABLE=ON 1. Use the UP key to pass to the “ENABLE=OFF” menu 2. Press “Enter” and “ENABLE=” will begin to flash 3. Use the UP/DOWN keys to choose ON to enable the event, or OFF if it is to be disabled. 4. Press “Enter” to exit the “ENABLE” menu and confirm Repeat the above steps to program other events on the Palco. Once programming is finished, keep “Enter” pressed down for approximately 6 sec. In order to exit the SCHEDULER menu. Step 7 – ENABLING THE SCHEDULER To start the scheduler and all its “Actions”, it’s necessary to enter the SCHEDL=ON menu PRGRUN=1 1. Use the UP/DOWN keys to find the “SCHEDL=ON” menu 2. Press “Enter” and SCHEDL= will immediately begin to flash 3. Use the UP/DOWN keys to choose ON or OFF, according to requirements 4. Press “Enter” to exit the SCHEDL=ON menu and confirm Palco 3 - Palco 5 - 39 - User's manual 1.01
- Page 1 and 2: Palco 3/5 Gradav Hire and Sales Ltd
- Page 3 and 4: GB SGM Elettronica - Light Technolo
- Page 5 and 6: GB SGM Elettronica - Light Technolo
- Page 7 and 8: GB SGM Elettronica - Light Technolo
- Page 9 and 10: GB SGM Elettronica - Light Technolo
- Page 11 and 12: GB SGM Elettronica - Light Technolo
- Page 13 and 14: GB SGM Elettronica - Light Technolo
- Page 15 and 16: GB SGM Elettronica - Light Technolo
- Page 17 and 18: GB SGM Elettronica - Light Technolo
- Page 19 and 20: GB SGM Elettronica - Light Technolo
- Page 21 and 22: GB SGM Elettronica - Light Technolo
- Page 23 and 24: GB SGM Elettronica - Light Technolo
- Page 25 and 26: GB SGM Elettronica - Light Technolo
- Page 27 and 28: GB SGM Elettronica - Light Technolo
- Page 29 and 30: GB SGM Elettronica - Light Technolo
- Page 31 and 32: GB SGM Elettronica - Light Technolo
- Page 33 and 34: GB SGM Elettronica - Light Technolo
- Page 35 and 36: GB SGM Elettronica - Light Technolo
- Page 37: GB SGM Elettronica - Light Technolo
- Page 41 and 42: GB SGM Elettronica - Light Technolo
- Page 43 and 44: GB SGM Elettronica - Light Technolo
GB<br />
SGM Elettronica - Light Technology<br />
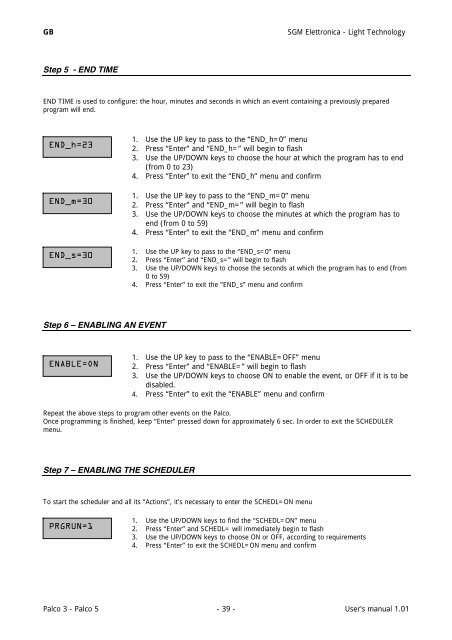
Step 5 - END TIME<br />
END TIME is used to configure: the hour, minutes and seconds in which an event containing a previously prepared<br />
program will end.<br />
END_h=23<br />
END_m=30<br />
END_s=30<br />
1. Use the UP key to pass to the “END_h=0” menu<br />
2. Press “Enter” and “END_h=” will begin to flash<br />
3. Use the UP/DOWN keys to choose the hour at which the program has to end<br />
(from 0 to 23)<br />
4. Press “Enter” to exit the “END_h” menu and confirm<br />
1. Use the UP key to pass to the “END_m=0” menu<br />
2. Press “Enter” and “END_m=” will begin to flash<br />
3. Use the UP/DOWN keys to choose the minutes at which the program has to<br />
end (from 0 to 59)<br />
4. Press “Enter” to exit the “END_m” menu and confirm<br />
1. Use the UP key to pass to the “END_s=0” menu<br />
2. Press “Enter” and “END_s=” will begin to flash<br />
3. Use the UP/DOWN keys to choose the seconds at which the program has to end (from<br />
0 to 59)<br />
4. Press “Enter” to exit the “END_s” menu and confirm<br />
Step 6 – ENABLING AN EVENT<br />
ENABLE=ON<br />
1. Use the UP key to pass to the “ENABLE=OFF” menu<br />
2. Press “Enter” and “ENABLE=” will begin to flash<br />
3. Use the UP/DOWN keys to choose ON to enable the event, or OFF if it is to be<br />
disabled.<br />
4. Press “Enter” to exit the “ENABLE” menu and confirm<br />
Repeat the above steps to program other events on the <strong>Palco</strong>.<br />
Once programming is finished, keep “Enter” pressed down for approximately 6 sec. In order to exit the SCHEDULER<br />
menu.<br />
Step 7 – ENABLING THE SCHEDULER<br />
To start the scheduler and all its “Actions”, it’s necessary to enter the SCHEDL=ON menu<br />
PRGRUN=1<br />
1. Use the UP/DOWN keys to find the “SCHEDL=ON” menu<br />
2. Press “Enter” and SCHEDL= will immediately begin to flash<br />
3. Use the UP/DOWN keys to choose ON or OFF, according to requirements<br />
4. Press “Enter” to exit the SCHEDL=ON menu and confirm<br />
<strong>Palco</strong> 3 - <strong>Palco</strong> 5 - 39 - User's manual 1.01


