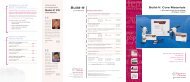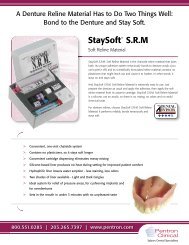
Instruction - Pentron Clinical
Instruction - Pentron Clinical
Instruction - Pentron Clinical

You also want an ePaper? Increase the reach of your titles
YUMPU automatically turns print PDFs into web optimized ePapers that Google loves.
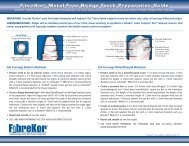
F I B E R R E I N F O R C E D C O M P O S I T E S ( F R C )<br />
3 - U N I T F U L L C O V E R A G E B R I D G E T E C H N I Q U E<br />
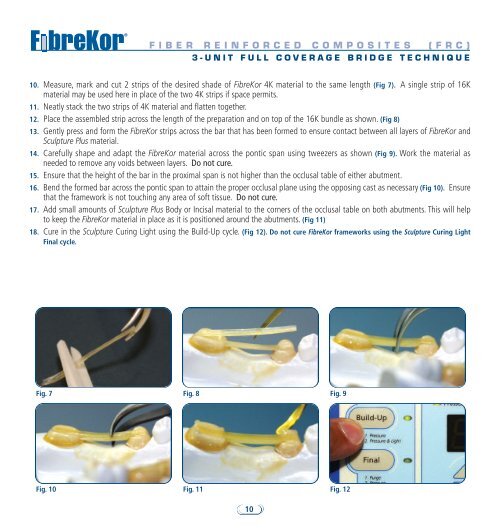
10. Measure, mark and cut 2 strips of the desired shade of FibreKor 4K material to the same length (Fig 7). A single strip of 16K<br />
material may be used here in place of the two 4K strips if space permits.<br />
11. Neatly stack the two strips of 4K material and flatten together.<br />
12. Place the assembled strip across the length of the preparation and on top of the 16K bundle as shown. (Fig 8)<br />
13. Gently press and form the FibreKor strips across the bar that has been formed to ensure contact between all layers of FibreKor and<br />
Sculpture Plus material.<br />
14. Carefully shape and adapt the FibreKor material across the pontic span using tweezers as shown (Fig 9). Work the material as<br />
needed to remove any voids between layers. Do not cure.<br />
15. Ensure that the height of the bar in the proximal span is not higher than the occlusal table of either abutment.<br />
16. Bend the formed bar across the pontic span to attain the proper occlusal plane using the opposing cast as necessary (Fig 10). Ensure<br />
that the framework is not touching any area of soft tissue. Do not cure.<br />
17. Add small amounts of Sculpture Plus Body or Incisal material to the corners of the occlusal table on both abutments. This will help<br />
to keep the FibreKor material in place as it is positioned around the abutments. (Fig 11)<br />
18. Cure in the Sculpture Curing Light using the Build-Up cycle. (Fig 12). Do not cure FibreKor frameworks using the Sculpture Curing Light<br />
Final cycle.<br />
Fig. 7<br />
Fig. 8 Fig. 9<br />
Fig. 10<br />
Fig. 11 Fig. 12<br />
10