Create successful ePaper yourself
Turn your PDF publications into a flip-book with our unique Google optimized e-Paper software.
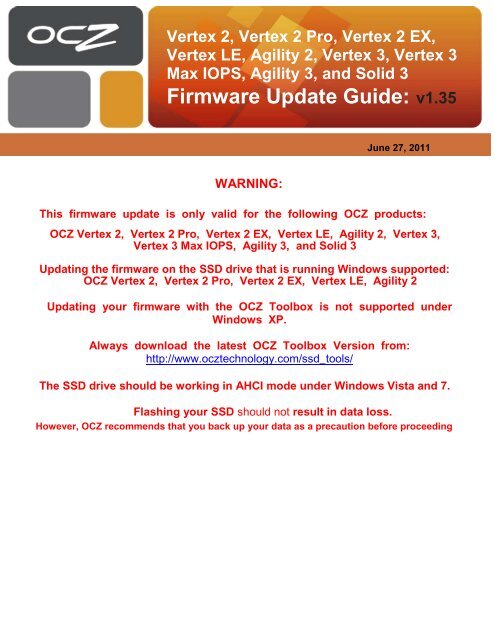
Vertex 2, Vertex 2 Pro, Vertex 2 EX,<br />
Vertex LE, Agility 2, Vertex 3, Vertex 3<br />
Max IOPS, Agility 3, and Solid 3<br />
<strong>Firmware</strong> <strong>Update</strong> <strong>Guide</strong>: <strong>v1.35</strong><br />
June 27, 2011<br />
WARNING:<br />
This firmware update is only valid for the following <strong>OCZ</strong> products:<br />
<strong>OCZ</strong> Vertex 2, Vertex 2 Pro, Vertex 2 EX, Vertex LE, Agility 2, Vertex 3,<br />
Vertex 3 Max IOPS, Agility 3, and Solid 3<br />
Updating the firmware on the SSD drive that is running Windows supported:<br />
<strong>OCZ</strong> Vertex 2, Vertex 2 Pro, Vertex 2 EX, Vertex LE, Agility 2<br />
Updating your firmware with the <strong>OCZ</strong> Toolbox is not supported under<br />
Windows XP.<br />
Always download the latest <strong>OCZ</strong> Toolbox Version from:<br />
http://www.ocztechnology.com/ssd_tools/<br />
The SSD drive should be working in AHCI mode under Windows Vista and 7.<br />
Flashing your SSD should not result in data loss.<br />
However, <strong>OCZ</strong> recommends that you back up your data as a precaution before proceeding
Inside the zip file, there will be a single EXE file, no installation necessary; the file can be unzipped to the<br />
desktop. If running Windows 7 or Vista, the program must be run as an Administrator. Unless UAC (User<br />
Account Control) is disabled in Windows 7/Vista, simply being logged in on an Administrative account is not<br />
enough. You MUST right click the file and click "Run as Administrator". Alternatively, you can right click and<br />
choose properties, then tell the program to always run as an Administrator under compatibility.<br />
1st screenshot we see the Toolbox as it is initially opened:<br />
2nd shot shows the information after a drive is selected:<br />
Once a drive is selected, the Tools, Security, and Details buttons become available to choose.<br />
www.ocztechnology.com
<strong>Firmware</strong> <strong>Update</strong><br />
To update your firmware you enter the tools menu:<br />
Click on update firmware and the process begins automatically, there will not be any kind of dialog<br />
pop up. On Windows 7 or Vista, there will most likely be a warning about internet access (Toolbox is<br />
attempting to make an outside connection, etc) please allow this connection so the update process goes<br />
smoothly. In the lower left hand corner of the Toolbox window you should see the progress (xxx sectors<br />
downloaded) and then receive the FW download complete message:<br />
www.ocztechnology.com
Once the firmware update is complete, click the "drives" button and select your drive again to verify you<br />
have the new latest FW revision (there may be a pause as the drive finishes its "reset" command that was<br />
issued after the FW flash):<br />
www.ocztechnology.com
Secure Erase<br />
The Toolbox also features the ability to secure erase your drive. All data will be destroyed and the drive/NAND will<br />
be reset to FOB (Fresh Out of Box) state.<br />
This function is still dependent on the system you are using it on. Some chipsets/bios will have the drive in a frozen<br />
state. Normally a reboot will clear this state, but this is not always true.<br />
To secure erase your drive, start at the first screen and select your drive:<br />
Then select the Security button to reveal the security menu:
Finally, click Secure Erase. A popup warning will appear as seen below. Click OK to secure erase the drive:<br />
You will then see the completion of the Secure Erase.<br />
The PC MUST be rebooted for the erase to complete:<br />
www.ocztechnology.com
Viewing SMART Attributes<br />
Start by opening the toolbox and selecting your drive:<br />
Then click the Details button:<br />
www.ocztechnology.com
Click the SMART data button and the SMART data will be displayed in a window:<br />
Viewing The Flash Die Size<br />
From the main screen, select the drive:<br />
Click on the “details” button<br />
Click on the “Die Size” button<br />
A dialog box will display the Flash die size<br />
www.ocztechnology.com


