You also want an ePaper? Increase the reach of your titles
YUMPU automatically turns print PDFs into web optimized ePapers that Google loves.
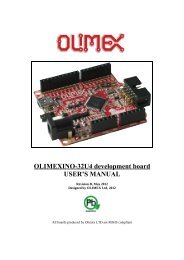
<strong>Arduino</strong> <strong>Energy</strong> <strong>Shield</strong> User’s Manual Page 8 of 16<br />
SHIELD INSTALLATION<br />
To connect the <strong>Arduino</strong> <strong>Energy</strong> <strong>Shield</strong> to the base board (Duemilanove, Mega<br />
or Uno), a few steps must be followed:<br />
A. Place the XBee radio on its socket, according to the silkscreen<br />
orientation.<br />
B. Insert the Coin type Lithium battery in its socket.<br />
C. Connect the current probe to the corresponding terminals.<br />
D. Connect the voltage probe to the corresponding terminals.<br />
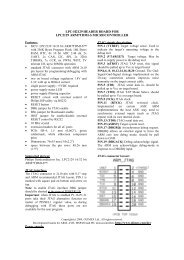
E. Place the shield over the <strong>Arduino</strong> main board as shown in figure 2. It is<br />
important to mention that the pin headers that connect the shield with<br />
<strong>Arduino</strong> have only one position.<br />
F. Assemble the <strong>Arduino</strong> <strong>Energy</strong> <strong>Shield</strong> with the <strong>Arduino</strong> main board.<br />
G. Connect the <strong>Arduino</strong> main board to the PC by using a USB cable.<br />
Luis Thayer Ojeda 0115 Of. 402 ▪ Santiago, Chile ▪ Tel. +56 2 3339579 ▪ info@olimex.cl<br />
www.olimex.cl