819 Injection Module User's Guide (PDF) - John Morris Scientific
819 Injection Module User's Guide (PDF) - John Morris Scientific
819 Injection Module User's Guide (PDF) - John Morris Scientific

You also want an ePaper? Increase the reach of your titles
YUMPU automatically turns print PDFs into web optimized ePapers that Google loves.
Maintenance 4<br />
Replacing Parts<br />
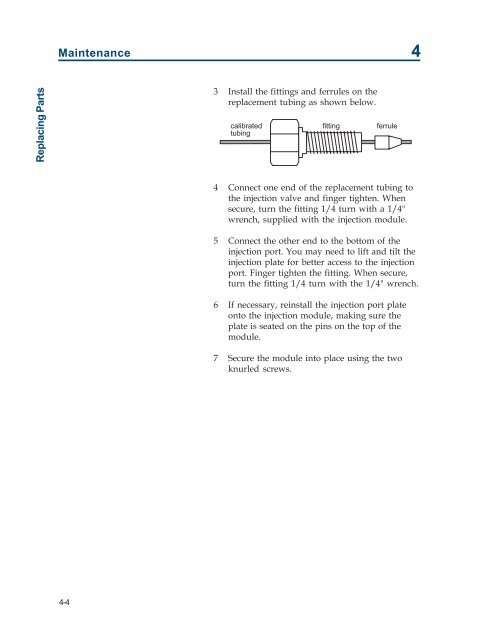
3 Install the fittings and ferrules on the<br />
replacement tubing as shown below.<br />
4 Connect one end of the replacement tubing to<br />
the injection valve and finger tighten. When<br />
secure, turn the fitting 1/4 turn with a 1/4"<br />
wrench, supplied with the injection module.<br />
5 Connect the other end to the bottom of the<br />
injection port. You may need to lift and tilt the<br />
injection plate for better access to the injection<br />
port. Finger tighten the fitting. When secure,<br />
turn the fitting 1/4 turn with the 1/4" wrench.<br />
6 If necessary, reinstall the injection port plate<br />
onto the injection module, making sure the<br />
plate is seated on the pins on the top of the<br />
module.<br />
7 Secure the module into place using the two<br />
knurled screws.<br />
4-4