RX63N Group Ogg Vorbis Decoder Sample Application - Renesas
RX63N Group Ogg Vorbis Decoder Sample Application - Renesas
RX63N Group Ogg Vorbis Decoder Sample Application - Renesas

Create successful ePaper yourself
Turn your PDF publications into a flip-book with our unique Google optimized e-Paper software.
<strong>RX63N</strong> <strong>Group</strong><br />
<strong>Ogg</strong> <strong>Vorbis</strong> <strong>Decoder</strong> <strong>Sample</strong> <strong>Application</strong><br />
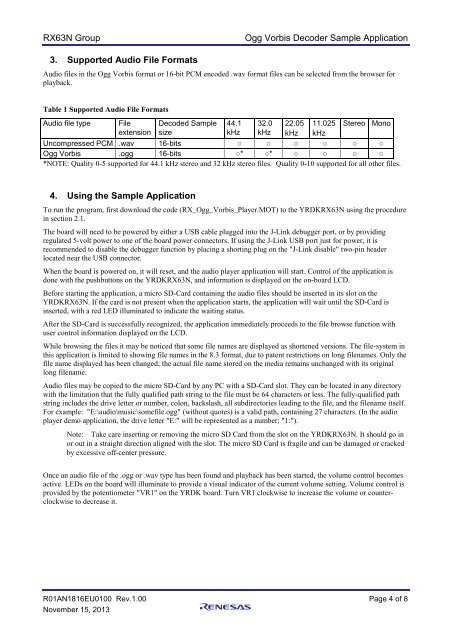
3. Supported Audio File Formats<br />
Audio files in the <strong>Ogg</strong> <strong>Vorbis</strong> format or 16-bit PCM encoded .wav format files can be selected from the browser for<br />
playback.<br />
Table 1 Supported Audio File Formats<br />
Audio file type File Decoded <strong>Sample</strong> 44.1 32.0 22.05 11.025 Stereo Mono<br />
extension size<br />
kHz kHz kHz kHz<br />
Uncompressed PCM .wav 16-bits ○ ○ ○ ○ ○ ○<br />
<strong>Ogg</strong> <strong>Vorbis</strong> .ogg 16-bits ○* ○* ○ ○ ○ ○<br />
*NOTE: Quality 0-5 supported for 44.1 kHz stereo and 32 kHz stereo files. Quality 0-10 supported for all other files.<br />
4. Using the <strong>Sample</strong> <strong>Application</strong><br />
To run the program, first download the code (RX_<strong>Ogg</strong>_<strong>Vorbis</strong>_Player.MOT) to the YRDK<strong>RX63N</strong> using the procedure<br />
in section 2.1.<br />
The board will need to be powered by either a USB cable plugged into the J-Link debugger port, or by providing<br />
regulated 5-volt power to one of the board power connectors. If using the J-Link USB port just for power, it is<br />
recommended to disable the debugger function by placing a shorting plug on the "J-Link disable" two-pin header<br />
located near the USB connector.<br />
When the board is powered on, it will reset, and the audio player application will start. Control of the application is<br />
done with the pushbuttons on the YRDK<strong>RX63N</strong>, and information is displayed on the on-board LCD.<br />
Before starting the application, a micro SD-Card containing the audio files should be inserted in its slot on the<br />
YRDK<strong>RX63N</strong>. If the card is not present when the application starts, the application will wait until the SD-Card is<br />
inserted, with a red LED illuminated to indicate the waiting status.<br />
After the SD-Card is successfully recognized, the application immediately proceeds to the file browse function with<br />
user control information displayed on the LCD.<br />
While browsing the files it may be noticed that some file names are displayed as shortened versions. The file-system in<br />
this application is limited to showing file names in the 8.3 format, due to patent restrictions on long filenames. Only the<br />
file name displayed has been changed; the actual file name stored on the media remains unchanged with its original<br />
long filename.<br />
Audio files may be copied to the micro SD-Card by any PC with a SD-Card slot. They can be located in any directory<br />
with the limitation that the fully qualified path string to the file must be 64 characters or less. The fully-qualified path<br />
string includes the drive letter or number, colon, backslash, all subdirectories leading to the file, and the filename itself.<br />
For example: "E:\audio\music\somefile.ogg" (without quotes) is a valid path, containing 27 characters. (In the audio<br />
player demo application, the drive letter "E:" will be represented as a number; "1:").<br />
Note: Take care inserting or removing the micro SD Card from the slot on the YRDK<strong>RX63N</strong>. It should go in<br />
or out in a straight direction aligned with the slot. The micro SD Card is fragile and can be damaged or cracked<br />
by excessive off-center pressure.<br />
Once an audio file of the .ogg or .wav type has been found and playback has been started, the volume control becomes<br />
active. LEDs on the board will illuminate to provide a visual indicator of the current volume setting. Volume control is<br />
provided by the potentiometer "VR1" on the YRDK board. Turn VR1 clockwise to increase the volume or counterclockwise<br />
to decrease it.<br />
R01AN1816EU0100 Rev.1.00 Page 4 of 8<br />
November 15, 2013