CASMED 740 Vital Signs Monitor - Implox
CASMED 740 Vital Signs Monitor - Implox
CASMED 740 Vital Signs Monitor - Implox
You also want an ePaper? Increase the reach of your titles
YUMPU automatically turns print PDFs into web optimized ePapers that Google loves.
<strong>CASMED</strong> <strong>740</strong> <strong>Monitor</strong>s<br />
NELLCOR® OXIMETER (if so equipped)<br />
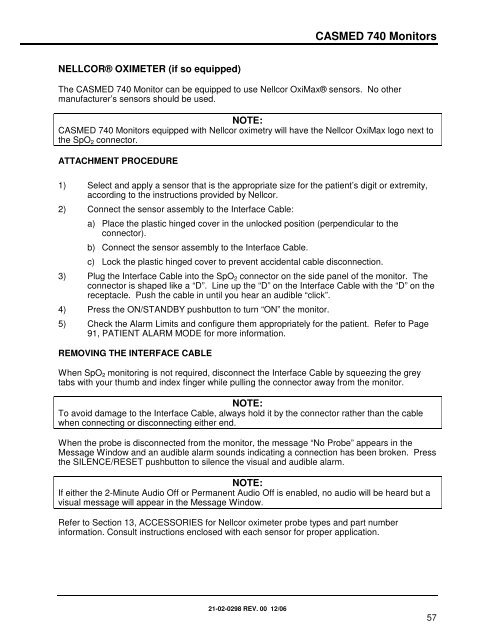
The <strong>CASMED</strong> <strong>740</strong> <strong>Monitor</strong> can be equipped to use Nellcor OxiMax® sensors. No other<br />
manufacturer’s sensors should be used.<br />
NOTE:<br />
<strong>CASMED</strong> <strong>740</strong> <strong>Monitor</strong>s equipped with Nellcor oximetry will have the Nellcor OxiMax logo next to<br />
the SpO 2 connector.<br />
ATTACHMENT PROCEDURE<br />
1) Select and apply a sensor that is the appropriate size for the patient’s digit or extremity,<br />
according to the instructions provided by Nellcor.<br />
2) Connect the sensor assembly to the Interface Cable:<br />
a) Place the plastic hinged cover in the unlocked position (perpendicular to the<br />
connector).<br />
b) Connect the sensor assembly to the Interface Cable.<br />
c) Lock the plastic hinged cover to prevent accidental cable disconnection.<br />
3) Plug the Interface Cable into the SpO 2 connector on the side panel of the monitor. The<br />
connector is shaped like a “D”. Line up the “D” on the Interface Cable with the “D” on the<br />
receptacle. Push the cable in until you hear an audible “click”.<br />
4) Press the ON/STANDBY pushbutton to turn “ON” the monitor.<br />
5) Check the Alarm Limits and configure them appropriately for the patient. Refer to Page<br />
91, PATIENT ALARM MODE for more information.<br />
REMOVING THE INTERFACE CABLE<br />
When SpO 2 monitoring is not required, disconnect the Interface Cable by squeezing the grey<br />
tabs with your thumb and index finger while pulling the connector away from the monitor.<br />
NOTE:<br />
To avoid damage to the Interface Cable, always hold it by the connector rather than the cable<br />
when connecting or disconnecting either end.<br />
When the probe is disconnected from the monitor, the message “No Probe” appears in the<br />
Message Window and an audible alarm sounds indicating a connection has been broken. Press<br />
the SILENCE/RESET pushbutton to silence the visual and audible alarm.<br />
NOTE:<br />
If either the 2-Minute Audio Off or Permanent Audio Off is enabled, no audio will be heard but a<br />
visual message will appear in the Message Window.<br />
Refer to Section 13, ACCESSORIES for Nellcor oximeter probe types and part number<br />
information. Consult instructions enclosed with each sensor for proper application.<br />
21-02-0298 REV. 00 12/06<br />
57


