Wüest M. 51 Wykes M. 82 Yamaguchi M. 17 Ybarra G. 129 Yubero F ...
Wüest M. 51 Wykes M. 82 Yamaguchi M. 17 Ybarra G. 129 Yubero F ...
Wüest M. 51 Wykes M. 82 Yamaguchi M. 17 Ybarra G. 129 Yubero F ...
Create successful ePaper yourself
Turn your PDF publications into a flip-book with our unique Google optimized e-Paper software.
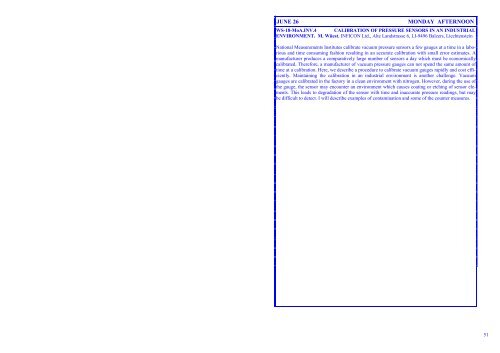
JUNE 26 MONDAY AFTERNOON<br />
WS-18-MoA.INV.4 CALIBRATION OF PRESSURE SENSORS IN AN INDUSTRIAL<br />
ENVIRONMENT. M. <strong>Wüest</strong>, INFICON Ltd., Alte Landstrasse 6, LI-9496 Balzers, Liechtenstein<br />
National Measurements Institutes calibrate vacuum pressure sensors a few gauges at a time in a laborious<br />
and time consuming fashion resulting in an accurate calibration with small error estimates. A<br />
manufacturer produces a comparatively large number of sensors a day which must be economically<br />
calibrated. Therefore, a manufacturer of vacuum pressure gauges can not spend the same amount of<br />
time at a calibration. Here, we describe a procedure to calibrate vacuum gauges rapidly and cost efficiently.<br />
Maintaining the calibration in an industrial environment is another challenge. Vacuum<br />
gauges are calibrated in the factory in a clean environment with nitrogen. However, during the use of<br />
the gauge, the sensor may encounter an environment which causes coating or etching of sensor elements.<br />
This leads to degradation of the sensor with time and inaccurate pressure readings, but may<br />
be difficult to detect. I will describe examples of contamination and some of the counter measures.<br />
<strong>51</strong>


