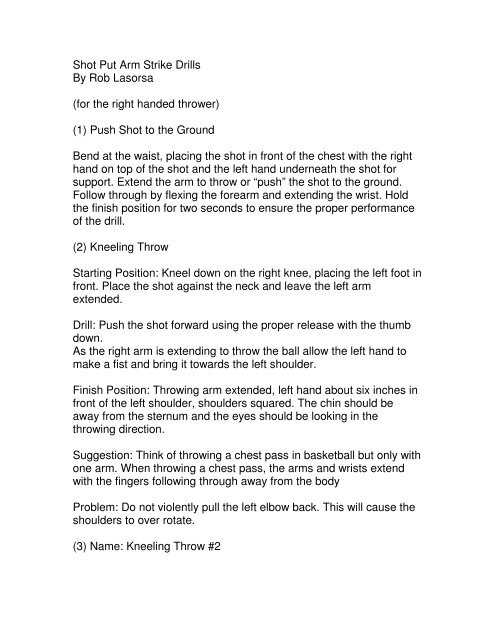
Shot Put Arm Strike Drills By Rob Lasorsa (for the right ... - iatccc
Shot Put Arm Strike Drills By Rob Lasorsa (for the right ... - iatccc
Shot Put Arm Strike Drills By Rob Lasorsa (for the right ... - iatccc

You also want an ePaper? Increase the reach of your titles
YUMPU automatically turns print PDFs into web optimized ePapers that Google loves.
<strong>Shot</strong> <strong>Put</strong> <strong>Arm</strong> <strong>Strike</strong> <strong>Drills</strong><br />
<strong>By</strong> <strong>Rob</strong> <strong>Lasorsa</strong><br />
(<strong>for</strong> <strong>the</strong> <strong>right</strong> handed thrower)<br />
(1) Push <strong>Shot</strong> to <strong>the</strong> Ground<br />
Bend at <strong>the</strong> waist, placing <strong>the</strong> shot in front of <strong>the</strong> chest with <strong>the</strong> <strong>right</strong><br />
hand on top of <strong>the</strong> shot and <strong>the</strong> left hand underneath <strong>the</strong> shot <strong>for</strong><br />
support. Extend <strong>the</strong> arm to throw or “push” <strong>the</strong> shot to <strong>the</strong> ground.<br />
Follow through by flexing <strong>the</strong> <strong>for</strong>earm and extending <strong>the</strong> wrist. Hold<br />
<strong>the</strong> finish position <strong>for</strong> two seconds to ensure <strong>the</strong> proper per<strong>for</strong>mance<br />
of <strong>the</strong> drill.<br />
(2) Kneeling Throw<br />
Starting Position: Kneel down on <strong>the</strong> <strong>right</strong> knee, placing <strong>the</strong> left foot in<br />
front. Place <strong>the</strong> shot against <strong>the</strong> neck and leave <strong>the</strong> left arm<br />
extended.<br />
Drill: Push <strong>the</strong> shot <strong>for</strong>ward using <strong>the</strong> proper release with <strong>the</strong> thumb<br />
down.<br />
As <strong>the</strong> <strong>right</strong> arm is extending to throw <strong>the</strong> ball allow <strong>the</strong> left hand to<br />
make a fist and bring it towards <strong>the</strong> left shoulder.<br />
Finish Position: Throwing arm extended, left hand about six inches in<br />
front of <strong>the</strong> left shoulder, shoulders squared. The chin should be<br />
away from <strong>the</strong> sternum and <strong>the</strong> eyes should be looking in <strong>the</strong><br />
throwing direction.<br />
Suggestion: Think of throwing a chest pass in basketball but only with<br />
one arm. When throwing a chest pass, <strong>the</strong> arms and wrists extend<br />
with <strong>the</strong> fingers following through away from <strong>the</strong> body<br />
Problem: Do not violently pull <strong>the</strong> left elbow back. This will cause <strong>the</strong><br />
shoulders to over rotate.<br />
(3) Name: Kneeling Throw #2
Starting Position: Assume <strong>the</strong> same position in <strong>the</strong> Kneeling Throw<br />
drill, and <strong>the</strong>n turn <strong>the</strong> waist and shoulders 90 degrees to <strong>the</strong> <strong>right</strong> so<br />
that <strong>the</strong> shot is lined up behind <strong>the</strong> <strong>right</strong> hip.<br />
Drill: Per<strong>for</strong>m <strong>the</strong> same action with <strong>the</strong> arms as in <strong>the</strong> Kneeling Throw<br />
drill. The upper body should naturally square up to <strong>the</strong> front. <strong>By</strong><br />
starting with <strong>the</strong> shot behind <strong>the</strong> <strong>right</strong> hip<br />
Problems:<br />
a.) In <strong>the</strong> starting position, allowing <strong>the</strong> shoulders to tilt.<br />
b.) Leading with <strong>the</strong> head be<strong>for</strong>e <strong>the</strong> shoulders start to move.<br />
(4) Medicine Ball Passes<br />
Start with <strong>the</strong> feet about shoulder width apart and place a medicine<br />
ball in both hands to simulate a chest pass position. The hands<br />
should be behind <strong>the</strong> ball with <strong>the</strong> thumbs down. Throw <strong>the</strong> ball<br />
against a wall or pass it to a partner. “Flip” <strong>the</strong> fingers at <strong>the</strong> release<br />
to feel <strong>the</strong> ball leaving <strong>the</strong> finger tips last.<br />
Variation: Single <strong>Arm</strong> Chest Passes<br />
Place <strong>the</strong> <strong>right</strong> hand against <strong>the</strong> chest and behind <strong>the</strong> medicine ball<br />
with <strong>the</strong> thumb down. The left hand is placed in front of <strong>the</strong> medicine<br />
ball. Push <strong>the</strong> ball <strong>for</strong>ward with <strong>the</strong> <strong>right</strong> arm to simulate a “one armed<br />
chest pass.”<br />
Suggestion: Do this drill with <strong>the</strong> <strong>right</strong> and left arms to develop muscle<br />
stability and balance.