
Create successful ePaper yourself
Turn your PDF publications into a flip-book with our unique Google optimized e-Paper software.
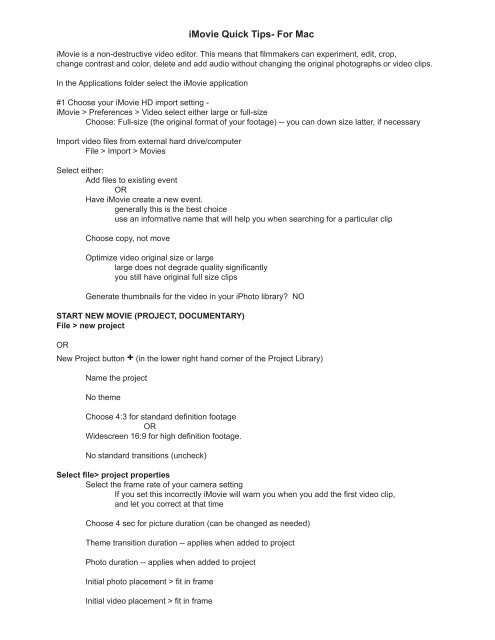
<strong>iMovie</strong> <strong>Quick</strong> <strong>Tips</strong>- <strong>For</strong> <strong>Mac</strong><br />
<strong>iMovie</strong> is a non-destructive video editor. This means that filmmakers can experiment, edit, crop,<br />
change contrast and color, delete and add audio without changing the original photographs or video clips.<br />
In the Applications folder select the <strong>iMovie</strong> application<br />
#1 Choose your <strong>iMovie</strong> HD import setting -<br />
<strong>iMovie</strong> > Preferences > Video select either large or full-size<br />
Choose: Full-size (the original format of your footage) -- you can down size latter, if necessary<br />
Import video files from external hard drive/computer<br />
File > Import > Movies<br />
Select either:<br />
Add files to existing event<br />
OR<br />
Have <strong>iMovie</strong> create a new event.<br />
generally this is the best choice<br />
use an informative name that will help you when searching for a particular clip<br />
Choose copy, not move<br />
Optimize video original size or large<br />
large does not degrade quality significantly<br />
you still have original full size clips<br />
Generate thumbnails for the video in your iPhoto library? NO<br />
START NEW MOVIE (PROJECT, DOCUMENTARY)<br />
File > new project<br />
OR<br />
New Project button + (in the lower right hand corner of the Project Library)<br />
Name the project<br />
No theme<br />
Choose 4:3 for standard definition footage<br />
OR<br />
Widescreen 16:9 for high definition footage.<br />
No standard transitions (uncheck)<br />
Select file> project properties<br />
Select the frame rate of your camera setting<br />
If you set this incorrectly <strong>iMovie</strong> will warn you when you add the first video clip,<br />
and let you correct at that time<br />
Choose 4 sec for picture duration (can be changed as needed)<br />
Theme transition duration -- applies when added to project<br />
Photo duration -- applies when added to project<br />
Initial photo placement > fit in frame<br />
Initial video placement > fit in frame
MOVE VIDEO CLIPS TO PROJECT<br />
In Event library: to show clip in most detail, drag slider (lower right corner of event viewer) to left<br />
1. To view clip, next to star, click on event name, hit space bar to stop and start<br />
2. Drag across clip to select portion you wish to use in the video (yellow box will appear)<br />
3. Click, hold and drag to new project<br />
OR<br />
1. Drag across clip to select portion you wish to use in the video (yellow box will appear)<br />
2. Click icon and clip will be added to end of project<br />
ADD STILL PHOTOS TO PROJECT<br />
1. From iPhoto (not mandatory, but most problem free)<br />
click on camera icon right side of <strong>iMovie</strong><br />
click on events, photos etc<br />
drag and drop onto time line<br />
OR<br />
From image folder, simply drag and drop: TIFF, JPEG, to project time line<br />
2. Hover mouse over image in project time-line, on-screen duration is displayed<br />
To change duration of still in project, double click on clip, change in inspector<br />
EDIT IN THE PROJECT<br />
To show project in most detail, drag slider (lower right corner of <strong>iMovie</strong>) to left<br />
There are several approaches to achieve the same result:<br />
#1 Selecting footage to DELETE from a clip in the project<br />
Drag across portion of clip you wish to delete from the project (yellow box will appear),<br />
hit the Delete key<br />
#2 Selecting footage to SAVE from a clip in the project<br />
Drag across portion of clip you wish to save (yellow box will appear)<br />
Move your mouse inside the yellow box and right click on the clip.<br />
Then select Trim To Selection OR Clip> trim to selection<br />
#3 Clip Trimmer. Move mouse over the clip you wish to edit<br />
A “Gear Wheel” will appear<br />
Click on Gear Wheel, select Clip Trimmer.<br />
the Clip Trimmer will appear in Event Library<br />
Drag the ends of the yellow box to the new beginning and end points<br />
press the blue Done button.
EDITING THE FILM (CONT.)<br />
Splitting a Clip<br />
1, Move the playhead to the point you want to split the clip<br />
2. Right click, select split clip<br />
OR<br />
Move the playhead to the point you want to split the clip<br />
1. Select: Clip>split clip<br />
Cutaway<br />
Can be done manually, but made easier by this command.<br />
Allows audio to remain constant, but other images or clips to be brought into the film.<br />
1. Select clip, or portion of clip in Events Viewer<br />
2. Drag to playhead at point where cutaway is to begin, popup menu will appear<br />
3. Choose cutaway<br />
Replace clip in film<br />
1. Select clip, or portion of clip in Events Viewer<br />
2. Drag clip to be delete from film, popup menu will appear<br />
3. Choose replace<br />
Crop a clip or still<br />
1. Click on clip in project timeline<br />
2. Click the Crop button on the <strong>iMovie</strong> toolbar to open the cropping tools in the viewer.<br />
3. Drag to resize and reposition the green area to select desired area.<br />
4. To test crop for entire clip, hit play button in viewer<br />
5. Click blue done button.<br />
Pan / Zoom / Kens Burns<br />
1. Click on clip in project timeline<br />
2. Click the Crop button on the <strong>iMovie</strong> toolbar.<br />
3. Choose “Ken Burns” Button.<br />
4. Green rectangle shows the starts portion of the pan, the red rectangle shows the ends portion.<br />
5. Drag to resize and reposition the colored rectangles to set the start and end point of the pan.<br />
6. The tiny arrows next to start or end, switches start and end points.<br />
7. To test pan for entire clip, hit play button in viewer<br />
8. Click blue done button.<br />
CORRECT COLOR, BRIGHTNESS, CONTRAST<br />
Adjust, color, brightness, contrast -- better in Photoshop, if possible.<br />
1. Click on clip in project timeline<br />
2. Click the i button on the <strong>iMovie</strong> toolbar. (Or hit letter i on keyboard)<br />
3. Choose video -- even with stills<br />
4. Use sliders to adjust exposure, contrast, brightness.<br />
5. Click on grey area of scene, in project viewer, to adjust white point<br />
To revert to original still or clip, go to lower left corner of inspector palette, click revert.<br />
OR<br />
Click done.
DISPLAY PROJECT HORIZONTALLY<br />
(as timeline) click horizontal display button in upper right corner of project browser.<br />
TRANSITION BETWEEN SCENES / FADES<br />
Fade to Black, Cross Dissolve, Fade to White<br />
Click icon to open fades far right side of <strong>iMovie</strong><br />
Drag selected fade between clips<br />
to change fade duration double click on fade icon in Project timeline<br />
when inspector palette opens, type desired duration<br />
To set how much transitions overlap with adjacent clips:<br />
Double click on fade icon in Project timeline<br />
Select either:<br />
All - Maintain Clip Range:<br />
total duration of the project decreases by the length of the transition.<br />
OR<br />
Half - Maintain Project Duration:<br />
total duration of the project remains the same.