LANTEK User Manual - Ideal Industries
LANTEK User Manual - Ideal Industries
LANTEK User Manual - Ideal Industries

You also want an ePaper? Increase the reach of your titles
YUMPU automatically turns print PDFs into web optimized ePapers that Google loves.
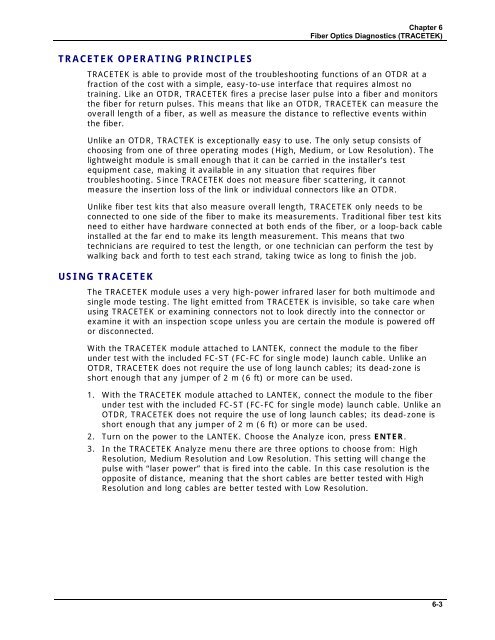
Chapter 6<br />
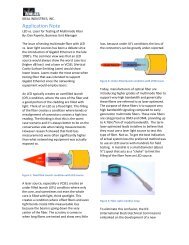
Fiber Optics Diagnostics (TRACETEK)<br />
TRACETEK OPERATING PRINCIPLES<br />
TRACETEK is able to provide most of the troubleshooting functions of an OTDR at a<br />
fraction of the cost with a simple, easy-to-use interface that requires almost no<br />
training. Like an OTDR, TRACETEK fires a precise laser pulse into a fiber and monitors<br />
the fiber for return pulses. This means that like an OTDR, TRACETEK can measure the<br />
overall length of a fiber, as well as measure the distance to reflective events within<br />
the fiber.<br />
Unlike an OTDR, TRACTEK is exceptionally easy to use. The only setup consists of<br />
choosing from one of three operating modes (High, Medium, or Low Resolution). The<br />
lightweight module is small enough that it can be carried in the installer’s test<br />
equipment case, making it available in any situation that requires fiber<br />
troubleshooting. Since TRACETEK does not measure fiber scattering, it cannot<br />
measure the insertion loss of the link or individual connectors like an OTDR.<br />
Unlike fiber test kits that also measure overall length, TRACETEK only needs to be<br />
connected to one side of the fiber to make its measurements. Traditional fiber test kits<br />
need to either have hardware connected at both ends of the fiber, or a loop-back cable<br />
installed at the far end to make its length measurement. This means that two<br />
technicians are required to test the length, or one technician can perform the test by<br />
walking back and forth to test each strand, taking twice as long to finish the job.<br />
USING TRACETEK<br />
The TRACETEK module uses a very high-power infrared laser for both multimode and<br />
single mode testing. The light emitted from TRACETEK is invisible, so take care when<br />
using TRACETEK or examining connectors not to look directly into the connector or<br />
examine it with an inspection scope unless you are certain the module is powered off<br />
or disconnected.<br />
With the TRACETEK module attached to <strong>LANTEK</strong>, connect the module to the fiber<br />
under test with the included FC-ST (FC-FC for single mode) launch cable. Unlike an<br />
OTDR, TRACETEK does not require the use of long launch cables; its dead-zone is<br />
short enough that any jumper of 2 m (6 ft) or more can be used.<br />
1. With the TRACETEK module attached to <strong>LANTEK</strong>, connect the module to the fiber<br />
under test with the included FC-ST (FC-FC for single mode) launch cable. Unlike an<br />
OTDR, TRACETEK does not require the use of long launch cables; its dead-zone is<br />
short enough that any jumper of 2 m (6 ft) or more can be used.<br />
2. Turn on the power to the <strong>LANTEK</strong>. Choose the Analyze icon, press ENTER.<br />
3. In the TRACETEK Analyze menu there are three options to choose from: High<br />
Resolution, Medium Resolution and Low Resolution. This setting will change the<br />
pulse with “laser power” that is fired into the cable. In this case resolution is the<br />
opposite of distance, meaning that the short cables are better tested with High<br />
Resolution and long cables are better tested with Low Resolution.<br />
6-3