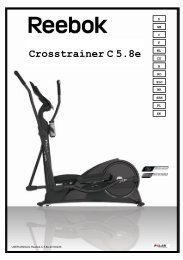
by Body-Solid® - Fitness4all
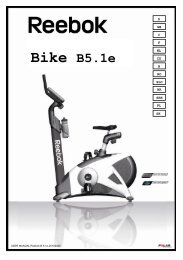
by Body-Solid® - Fitness4all
by Body-Solid® - Fitness4all

Create successful ePaper yourself
Turn your PDF publications into a flip-book with our unique Google optimized e-Paper software.
STEP<br />
10<br />
mm<br />
Inch<br />
Be careful to assemble all components<br />
in the sequence they are presented.<br />
Most of the main frame parts in this step will have<br />
YELLOW dots.<br />
A. Slide Plastic Bushing (23) into the receptacle at the bottom of the Rear Vertical Frame (E)<br />
as shown. Attach Hydraulic Seat Adjuster (AU) to the inside of the receptacle at the bottom<br />
of the Rear Vertical Frame (E) using:<br />
One 72 (3/8”x 3” hex head bolt)<br />
Two 94 (3/8” washer)<br />
One 91 (3/8” nylon lock nut)<br />
B. Attach two End Caps (13) to the front and back of Seat Pad Frame (AV).<br />
Slide Seat Pad Frame (AV) into receptacle at the bottom of Rear Vertical Frame (E), and<br />
attach to the top of Hydraulic Seat Adjuster (AU) using:<br />
One 74 (3/8”x 2 1/2”hex head bolt)<br />
Two 94 (3/8” washer)<br />
One 91 (3/8” nylon lock nut)<br />
Insert Pop Pin (48) into the threaded opening in the receptacle at the bottom of the<br />
Rear Vertical Frame (E).<br />
C. Attach Seat Pad (AW) to Seat Pad Frame (AV) using:<br />
Two 82 (5/16”x 2 3/4” hex head bolt)*<br />
Two 96 (5/16” spring lock washer)<br />
Two 95 (5/16” washer)<br />
*Do NOT over-tighten these bolts. Tighten these bolts until spring lock washer is flat.<br />
Over - tightening these bolts will cause T - nuts in pads to strip out.<br />
D. Attach Back Pad (AX) to Rear Vertical Frame (E) using:<br />
Two 82 (5/16”x 2 3/4” hex head bolt)*<br />
Two 96 (5/16” spring lock washer)<br />
Two 95 (5/16” washer)<br />
*Do NOT over-tighten these bolts. Tighten these bolts until spring lock washer is flat.<br />
Over - tightening these bolts will cause T - nuts in pads to strip out.<br />
Note:<br />
You should now wrench tighten all bolts and nuts in this step.<br />
Do NOT re-tighten any of the pad bolts or pulley bolts.<br />
28