68-757-01, rev. D, full manual - Extron Electronics
68-757-01, rev. D, full manual - Extron Electronics
68-757-01, rev. D, full manual - Extron Electronics

Create successful ePaper yourself
Turn your PDF publications into a flip-book with our unique Google optimized e-Paper software.
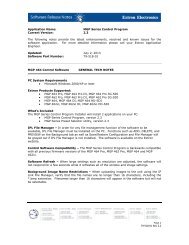
Wall Stud<br />
Installation<br />
Cable<br />
Cable Clamp<br />
1-gang wall box.eps<br />
Screws or Nails<br />
Wall opening<br />
is flush with<br />
edge of box.<br />
Attaching a wall box to a wall stud<br />
7. Mount the module(s) onto a mounting frame, then cable<br />
and test the DAV/DAS before fastening it into the wall box<br />
or bracket. The cables are inaccessible after installation.<br />
Mounting the Module Into a Connector<br />
Module Frame or Rack-mountable Frame<br />
For wall, furniture, or rack mounting installations. DAV and<br />
DAS modules must be attached to a faceplate, frame, or CPM<br />
Series rack-mountable frame and cabled before being installed.<br />
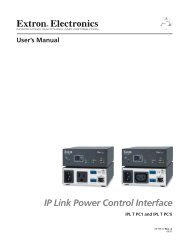
1. Insert the module into the faceplate's or frame’s opening.<br />
2. Secure the module to the<br />
faceplate or frame with the<br />
provided machine<br />
screws and nuts.<br />
INPUT<br />
SELECT POWER<br />
INPUT 1<br />
LOCAL MONITOR OUTPUT<br />
COMPUTER VIDEO INPUT<br />
CIA112 COMPUTER INTERFACE<br />
HORIZONTAL<br />
POSITION<br />
MONITOR<br />
EMULATION<br />
Attaching a DAS/DAV1<strong>01</strong>CM to a device’s faceplate<br />
DAV1<strong>01</strong>CM, DAS1<strong>01</strong>CM • Installation and Operation<br />
INPUT 2<br />
LOCAL MONITOR OUTPUT<br />
COMPUTER VIDEO INPUT<br />
AUDIO INPUT AUDIO INPUT<br />
PEAKING<br />
DAV1<strong>01</strong>CM VGA LINE DRIVER<br />
VIDEO INPUT<br />
POWER<br />
(4) #4 - 40<br />
Screws<br />
2-3