AVS Image Converter help in PDF Download - AVS4YOU >> Online ...
AVS Image Converter help in PDF Download - AVS4YOU >> Online ...
AVS Image Converter help in PDF Download - AVS4YOU >> Online ...

Create successful ePaper yourself
Turn your PDF publications into a flip-book with our unique Google optimized e-Paper software.
<strong>AVS</strong>4YOU Programs Help - <strong>AVS</strong> <strong>Image</strong> <strong>Converter</strong> Page 37 of 48<br />
Temperature<br />
Is used to adjust your images to warm or cold colors. You can adjust them manually by dragg<strong>in</strong>g the <strong>in</strong>dicator of the<br />
appropriate slider or enter<strong>in</strong>g a value <strong>in</strong>to the box next to it or automatically by click<strong>in</strong>g the Auto Temperature button. To<br />
reset the orig<strong>in</strong>al value use the Reset to Default button.<br />
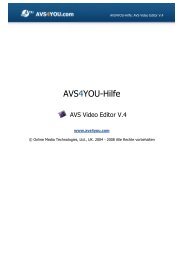
Before apply<strong>in</strong>g the Temperature effect<br />
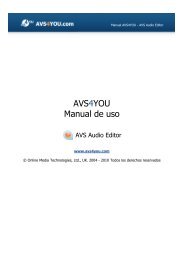
Before apply<strong>in</strong>g the Blur/Sharpen effect<br />
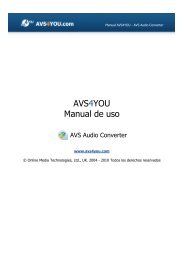
After apply<strong>in</strong>g the Temperature effect<br />
The current version of <strong>AVS</strong> <strong>Image</strong> <strong>Converter</strong> allows you to correct brightness, contrast and temperature of your images at once<br />
click<strong>in</strong>g the Auto Corrections button situated on the top of the Work<strong>in</strong>g Area.<br />
Blur/Sharpen<br />
Is used to reduce (Blur) or <strong>in</strong>crease (Sharpen) contrast between adjacent pixels by lighten<strong>in</strong>g or darken<strong>in</strong>g pixels next to<br />
well-def<strong>in</strong>ed or blurry edges and shadows, visually smooth<strong>in</strong>g and soften<strong>in</strong>g or sharpen<strong>in</strong>g the image. You can do that by<br />
dragg<strong>in</strong>g the <strong>in</strong>dicator of the appropriate slider or enter<strong>in</strong>g a value <strong>in</strong>to the box next to it. To reset the orig<strong>in</strong>al value use the<br />
Reset to Default button.<br />
Effects<br />
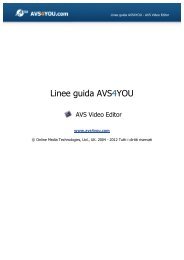
After apply<strong>in</strong>g the Blur/Sharpen effect<br />
Is used to imitate faded photos and yellowish photo paper (Sepia), to give your images a classic look of black and white<br />
photos ma<strong>in</strong>ta<strong>in</strong><strong>in</strong>g its sharpness and contrast (Black and White), to <strong>in</strong>vert colors of the picture to their opposite value <strong>in</strong><br />
the color spectrum mak<strong>in</strong>g it look like a negative (Positive/Negative) or to create a sterescopic 3D effect when view<strong>in</strong>g<br />
the image us<strong>in</strong>g glasses with red/blue lenses (Anaglyph 3D). To apply one of the available effects use the Effect<br />
drop-down list. If you do not want apply any effects select the Orig<strong>in</strong>al Photo option.<br />
Before apply<strong>in</strong>g effects<br />
© Onl<strong>in</strong>e Media Technologies Ltd., UK 2004 - 2012 All rights reserved. www.avs4you.com