Beginning SQL
Beginning SQL Beginning SQL
Chapter 3 The results are as follows: City MemberId Big City 8 New Town 4 Orange Town 5 Orange Town 6 Orange Town 7 Townsville 1 Windy Village 9 Orange Town appears three times because MemberId is unique on each row. In fact, using the DISTINCT keyword where one of the columns is always unique is pointless. Using Aliases Just as James Bond is also known by the alias 007, you can give column names an alias in the results. An alias is simply a secondary or symbolic name for a collection of data. If, for example, instead of LastName you want your results to return an alias called Surname, you would write the following query: SELECT LastName AS Surname FROM MemberDetails; Specifying Surname with the AS keyword tells the database system that you want the results to be known as the alias Surname. Using an alias doesn’t change the results returned in any way, nor does it rename the LastName in the MemberDetails tables. It affects only the name of the column in the results set. Using aliases may not seem that useful right now, but later on in the book you use aliases as a shorthand way of referring to table names, among other uses. So far all the data from tables has been returned, but what if you just want specific data — for example, details of members older than 60 years old? In such a case, you need to use a WHERE clause, which is the topic of the next section. Filtering Results with the WHERE Clause 56 Although you may occasionally have to select all the records in a table, it’s much more common to filter results so that you get only the information you want. For example, you could filter query results to find out all the names of members living in New State. In Chapter 2 you saw how you can use the WHERE clause to update or delete specific records. You can also use the WHERE clause with SELECT statements to filter results so that you get back only the data you want.
- Page 102: ❑ Meeting date 2 ❑ Location 2
- Page 106: Generally speaking, picking a data
- Page 110: example, the MemberId field links t
- Page 114: Depending on which RDBMS you’re u
- Page 118: The FilmCategory table is very smal
- Page 122: 2 Entering Information The last cha
- Page 126: like this: INSERT INTO Category VAL
- Page 130: Inserting Data into the Case Study
- Page 134: The WHERE Clause So far you’ve se
- Page 138: Try It Out Using Logical Operators
- Page 142: Exercises 1. Three new members have
- Page 148: Chapter 3 54 MemberId FirstName 1 K
- Page 154: The good news is that everything yo
- Page 158: MemberDetails (MemberId, FirstName,
- Page 162: MemberDetails table, the columns Fi
- Page 166: State DateOfJoining New State 2005-
- Page 170: It simply tells the database system
- Page 174: The BETWEEN operator functions exac
- Page 178: The final condition required is a c
- Page 182: In some database systems, the LIKE
- Page 186: The second query is a negative, in
- Page 190: Because both conditions (YearReleas
- Page 194: YearReleased 1984 1980 1977 1975 19
- Page 198: First, the database system orders t
Chapter 3<br />
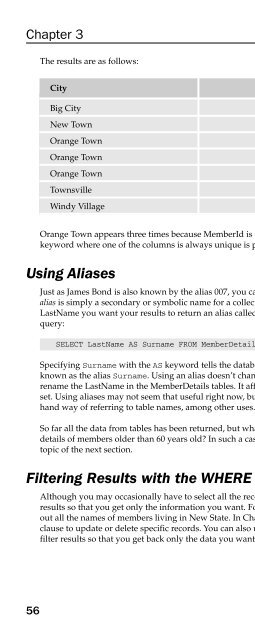
The results are as follows:<br />
City MemberId<br />
Big City 8<br />
New Town 4<br />
Orange Town 5<br />
Orange Town 6<br />
Orange Town 7<br />
Townsville 1<br />
Windy Village 9<br />
Orange Town appears three times because MemberId is unique on each row. In fact, using the DISTINCT<br />
keyword where one of the columns is always unique is pointless.<br />
Using Aliases<br />
Just as James Bond is also known by the alias 007, you can give column names an alias in the results. An<br />
alias is simply a secondary or symbolic name for a collection of data. If, for example, instead of<br />
LastName you want your results to return an alias called Surname, you would write the following<br />
query:<br />
SELECT LastName AS Surname FROM MemberDetails;<br />
Specifying Surname with the AS keyword tells the database system that you want the results to be<br />
known as the alias Surname. Using an alias doesn’t change the results returned in any way, nor does it<br />
rename the LastName in the MemberDetails tables. It affects only the name of the column in the results<br />
set. Using aliases may not seem that useful right now, but later on in the book you use aliases as a shorthand<br />
way of referring to table names, among other uses.<br />
So far all the data from tables has been returned, but what if you just want specific data — for example,<br />
details of members older than 60 years old? In such a case, you need to use a WHERE clause, which is the<br />
topic of the next section.<br />
Filtering Results with the WHERE Clause<br />
56<br />
Although you may occasionally have to select all the records in a table, it’s much more common to filter<br />
results so that you get only the information you want. For example, you could filter query results to find<br />
out all the names of members living in New State. In Chapter 2 you saw how you can use the WHERE<br />
clause to update or delete specific records. You can also use the WHERE clause with SELECT statements to<br />
filter results so that you get back only the data you want.


