

TRITON Extreme Operation Guide - Platinum Audiolab
TRITON Extreme Operation Guide - Platinum Audiolab
TRITON Extreme Operation Guide - Platinum Audiolab

Create successful ePaper yourself
Turn your PDF publications into a flip-book with our unique Google optimized e-Paper software.
44<br />
3 In “Location,” specify a location several measures<br />
earlier than the point at which you wish to begin<br />
recording.<br />
4 Press the SEQUENCER [START/STOP] key.<br />
Playback will begin.<br />
5 At the point at which you wish to begin recording,<br />
press the SEQUENCER [REC/WRITE] key.<br />
Recording will begin. Play the keyboard and operate<br />
controllers such as the joystick to record your performance.<br />
6 When you finish recording, press the SEQUENCER<br />
[REC/WRITE] key.<br />
Recording will end (playback will continue).<br />
Instead of pressing the SEQUENCER [REC/WRITE]<br />
key in steps 5 and 6, you can use a foot switch connected<br />
to the ASSIGNABLE SWITCH jack.<br />
Set the Global P2: Controller page “Foot Switch<br />
Assign” to Song Punch In/Out (☞p.90).<br />
7 Press the SEQUENCER [START/STOP] key.<br />
Playback will stop, and you will return to the location<br />
that you specified in step 3.<br />
• Auto punch-in<br />
First you must specify the area that will be re-recorded.<br />
Then recording will occur automatically at the specified<br />
area.<br />
With this method, the musical data previously on the<br />
track is overwritten by the newly recorded data.<br />
1 Use “Track Select” to select the track that you want to<br />
record.<br />
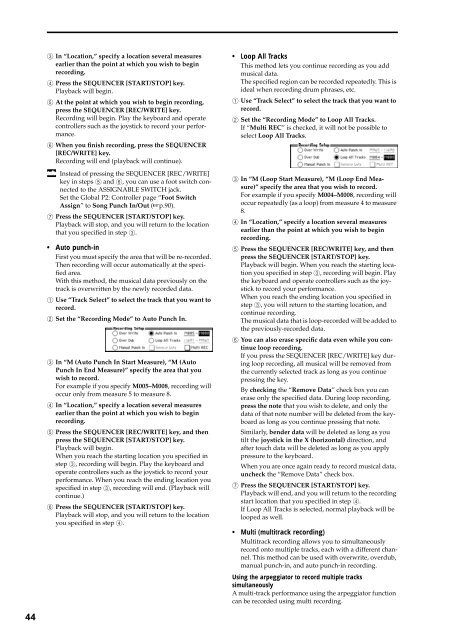
2 Set the “Recording Mode” to Auto Punch In.<br />
3 In “M (Auto Punch In Start Measure), “M (Auto<br />
Punch In End Measure)” specify the area that you<br />
wish to record.<br />
For example if you specify M005–M008, recording will<br />
occur only from measure 5 to measure 8.<br />
4 In “Location,” specify a location several measures<br />
earlier than the point at which you wish to begin<br />
recording.<br />
5 Press the SEQUENCER [REC/WRITE] key, and then<br />
press the SEQUENCER [START/STOP] key.<br />
Playback will begin.<br />
When you reach the starting location you specified in<br />
step 3, recording will begin. Play the keyboard and<br />
operate controllers such as the joystick to record your<br />
performance. When you reach the ending location you<br />
specified in step 3, recording will end. (Playback will<br />
continue.)<br />
6 Press the SEQUENCER [START/STOP] key.<br />
Playback will stop, and you will return to the location<br />
you specified in step 4.<br />
• Loop All Tracks<br />
This method lets you continue recording as you add<br />
musical data.<br />
The specified region can be recorded repeatedly. This is<br />
ideal when recording drum phrases, etc.<br />
1 Use “Track Select” to select the track that you want to<br />
record.<br />
2 Set the “Recording Mode” to Loop All Tracks.<br />
If “Multi REC” is checked, it will not be possible to<br />
select Loop All Tracks.<br />
3 In “M (Loop Start Measure), “M (Loop End Measure)”<br />
specify the area that you wish to record.<br />
For example if you specify M004–M008, recording will<br />
occur repeatedly (as a loop) from measure 4 to measure<br />
8.<br />
4 In “Location,” specify a location several measures<br />
earlier than the point at which you wish to begin<br />
recording.<br />
5 Press the SEQUENCER [REC/WRITE] key, and then<br />
press the SEQUENCER [START/STOP] key.<br />
Playback will begin. When you reach the starting location<br />
you specified in step 3, recording will begin. Play<br />
the keyboard and operate controllers such as the joystick<br />
to record your performance.<br />
When you reach the ending location you specified in<br />
step 3, you will return to the starting location, and<br />
continue recording.<br />
The musical data that is loop-recorded will be added to<br />
the previously-recorded data.<br />
6 You can also erase specific data even while you continue<br />
loop recording.<br />
If you press the SEQUENCER [REC/WRITE] key during<br />
loop recording, all musical will be removed from<br />
the currently selected track as long as you continue<br />
pressing the key.<br />
By checking the “Remove Data” check box you can<br />
erase only the specified data. During loop recording,<br />
press the note that you wish to delete, and only the<br />
data of that note number will be deleted from the keyboard<br />
as long as you continue pressing that note.<br />
Similarly, bender data will be deleted as long as you<br />
tilt the joystick in the X (horizontal) direction, and<br />
after touch data will be deleted as long as you apply<br />
pressure to the keyboard.<br />
When you are once again ready to record musical data,<br />
uncheck the “Remove Data” check box.<br />
7 Press the SEQUENCER [START/STOP] key.<br />
Playback will end, and you will return to the recording<br />
start location that you specified in step 4.<br />
If Loop All Tracks is selected, normal playback will be<br />
looped as well.<br />
• Multi (multitrack recording)<br />
Multitrack recording allows you to simultaneously<br />
record onto multiple tracks, each with a different channel.<br />
This method can be used with overwrite, overdub,<br />
manual punch-in, and auto punch-in recording.<br />
Using the arpeggiator to record multiple tracks<br />
simultaneously<br />
A multi-track performance using the arpeggiator function<br />
can be recorded using multi recording.


