

TRITON Extreme Operation Guide - Platinum Audiolab
TRITON Extreme Operation Guide - Platinum Audiolab
TRITON Extreme Operation Guide - Platinum Audiolab

You also want an ePaper? Increase the reach of your titles
YUMPU automatically turns print PDFs into web optimized ePapers that Google loves.
18<br />
Turning the power on/off<br />
Before you turn on the power, make sure that the<br />
desired connections have been made as described in<br />
“Connections” (☞p.15).<br />
1. Turning the power on<br />
1 Press the rear panel [POWER] switch to turn on the<br />
power.<br />
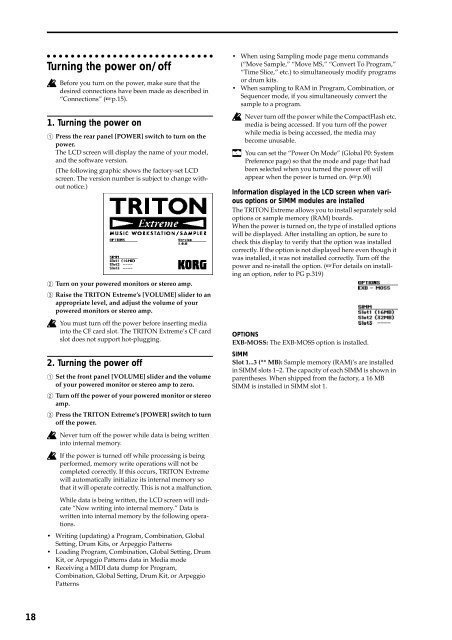
The LCD screen will display the name of your model,<br />
and the software version.<br />
(The following graphic shows the factory-set LCD<br />
screen. The version number is subject to change without<br />
notice.)<br />
2 Turn on your powered monitors or stereo amp.<br />
3 Raise the <strong>TRITON</strong> <strong>Extreme</strong>’s [VOLUME] slider to an<br />
appropriate level, and adjust the volume of your<br />
powered monitors or stereo amp.<br />
You must turn off the power before inserting media<br />
into the CF card slot. The <strong>TRITON</strong> <strong>Extreme</strong>’s CF card<br />
slot does not support hot-plugging.<br />
2. Turning the power off<br />
1 Set the front panel [VOLUME] slider and the volume<br />
of your powered monitor or stereo amp to zero.<br />
2 Turn off the power of your powered monitor or stereo<br />
amp.<br />
3 Press the <strong>TRITON</strong> <strong>Extreme</strong>’s [POWER] switch to turn<br />
off the power.<br />
Never turn off the power while data is being written<br />
into internal memory.<br />
If the power is turned off while processing is being<br />
performed, memory write operations will not be<br />
completed correctly. If this occurs, <strong>TRITON</strong> <strong>Extreme</strong><br />
will automatically initialize its internal memory so<br />
that it will operate correctly. This is not a malfunction.<br />
While data is being written, the LCD screen will indicate<br />
“Now writing into internal memory.” Data is<br />
written into internal memory by the following operations.<br />
• Writing (updating) a Program, Combination, Global<br />
Setting, Drum Kits, or Arpeggio Patterns<br />
• Loading Program, Combination, Global Setting, Drum<br />
Kit, or Arpeggio Patterns data in Media mode<br />
• Receiving a MIDI data dump for Program,<br />
Combination, Global Setting, Drum Kit, or Arpeggio<br />
Patterns<br />
• When using Sampling mode page menu commands<br />
(“Move Sample,” “Move MS,” “Convert To Program,”<br />
“Time Slice,” etc.) to simultaneously modify programs<br />
or drum kits.<br />
• When sampling to RAM in Program, Combination, or<br />
Sequencer mode, if you simultaneously convert the<br />
sample to a program.<br />
Never turn off the power while the CompactFlash etc.<br />
media is being accessed. If you turn off the power<br />
while media is being accessed, the media may<br />
become unusable.<br />
You can set the “Power On Mode” (Global P0: System<br />
Preference page) so that the mode and page that had<br />
been selected when you turned the power off will<br />
appear when the power is turned on. (☞p.90)<br />
Information displayed in the LCD screen when various<br />
options or SIMM modules are installed<br />
The <strong>TRITON</strong> <strong>Extreme</strong> allows you to install separately sold<br />
options or sample memory (RAM) boards.<br />
When the power is turned on, the type of installed options<br />
will be displayed. After installing an option, be sure to<br />
check this display to verify that the option was installed<br />
correctly. If the option is not displayed here even though it<br />
was installed, it was not installed correctly. Turn off the<br />
power and re-install the option. (☞For details on installing<br />
an option, refer to PG p.319)<br />
OPTIONS<br />
EXB-MOSS: The EXB-MOSS option is installed.<br />
SIMM<br />
Slot 1...3 (** MB): Sample memory (RAM)’s are installed<br />
in SIMM slots 1–2. The capacity of each SIMM is shown in<br />
parentheses. When shipped from the factory, a 16 MB<br />
SIMM is installed in SIMM slot 1.


