

User Manual
User Manual
User Manual

Create successful ePaper yourself
Turn your PDF publications into a flip-book with our unique Google optimized e-Paper software.
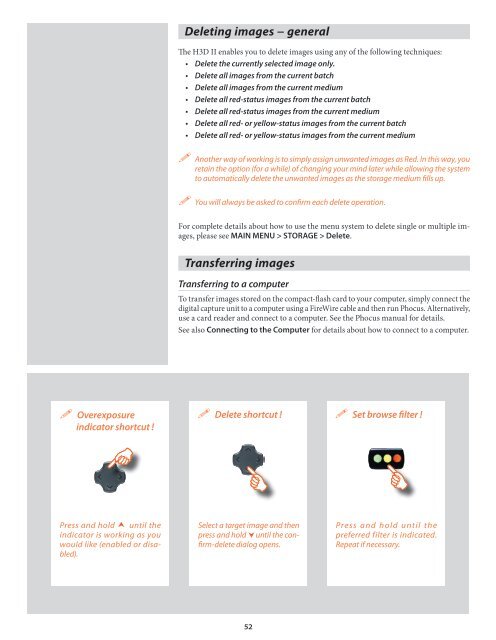
Overexposure<br />
indicator shortcut !<br />
Press and hold until the<br />
indicator is working as you<br />
would like (enabled or disabled).<br />
Deleting images − general<br />
The H3D II enables you to delete images using any of the following techniques:<br />
• Delete the currently selected image only.<br />
• Delete all images from the current batch<br />
• Delete all images from the current medium<br />
• Delete all red-status images from the current batch<br />
• Delete all red-status images from the current medium<br />
• Delete all red- or yellow-status images from the current batch<br />
• Delete all red- or yellow-status images from the current medium<br />
Another way of working is to simply assign unwanted images as Red. In this way, you<br />
retain the option (for a while) of changing your mind later while allowing the system<br />
to automatically delete the unwanted images as the storage medium fills up.<br />
You will always be asked to confirm each delete operation.<br />
For complete details about how to use the menu system to delete single or multiple images,<br />
please see MAIN MENU > STORAGE > Delete.<br />
Transferring images<br />
Transferring to a computer<br />
To transfer images stored on the compact-flash card to your computer, simply connect the<br />
digital capture unit to a computer using a FireWire cable and then run Phocus. Alternatively,<br />
use a card reader and connect to a computer. See the Phocus manual for details.<br />
See also Connecting to the Computer for details about how to connect to a computer.<br />
Delete shortcut !<br />
Select a target image and then<br />
press and hold until the confirm-delete<br />
dialog opens.<br />
52<br />
Set browse filter !<br />
Press a nd hold u ntil the<br />
preferred filter is indicated.<br />
Repeat if necessary.


![Einladung [07.02.2006] - Hochschule für Gestaltung Offenbach am ...](https://img.yumpu.com/13375413/1/184x260/einladung-07022006-hochschule-fur-gestaltung-offenbach-am-.jpg?quality=85)


