Tbm dv8r manual - Troy Built Models
Tbm dv8r manual - Troy Built Models
Tbm dv8r manual - Troy Built Models

You also want an ePaper? Increase the reach of your titles
YUMPU automatically turns print PDFs into web optimized ePapers that Google loves.
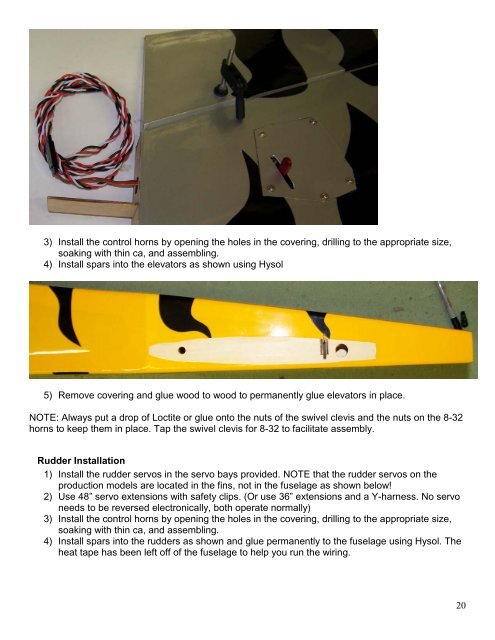
3) Install the control horns by opening the holes in the covering, drilling to the appropriate size,<br />
soaking with thin ca, and assembling.<br />
4) Install spars into the elevators as shown using Hysol<br />
5) Remove covering and glue wood to wood to permanently glue elevators in place.<br />
NOTE: Always put a drop of Loctite or glue onto the nuts of the swivel clevis and the nuts on the 8-32<br />
horns to keep them in place. Tap the swivel clevis for 8-32 to facilitate assembly.<br />
Rudder Installation<br />
1) Install the rudder servos in the servo bays provided. NOTE that the rudder servos on the<br />
production models are located in the fins, not in the fuselage as shown below!<br />
2) Use 48” servo extensions with safety clips. (Or use 36” extensions and a Y-harness. No servo<br />
needs to be reversed electronically, both operate normally)<br />
3) Install the control horns by opening the holes in the covering, drilling to the appropriate size,<br />
soaking with thin ca, and assembling.<br />
4) Install spars into the rudders as shown and glue permanently to the fuselage using Hysol. The<br />
heat tape has been left off of the fuselage to help you run the wiring.<br />
20