Harmonic CLEARcut - Harmonic Inc
Harmonic CLEARcut - Harmonic Inc
Harmonic CLEARcut - Harmonic Inc
Create successful ePaper yourself
Turn your PDF publications into a flip-book with our unique Google optimized e-Paper software.
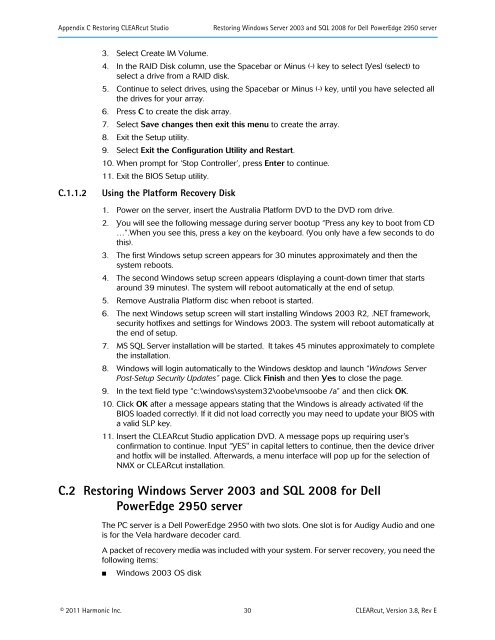
Appendix C Restoring <strong>CLEARcut</strong> Studio Restoring Windows Server 2003 and SQL 2008 for Dell PowerEdge 2950 server<br />
3. Select Create IM Volume.<br />
4. In the RAID Disk column, use the Spacebar or Minus (-) key to select [Yes] (select) to<br />
select a drive from a RAID disk.<br />
5. Continue to select drives, using the Spacebar or Minus (-) key, until you have selected all<br />
the drives for your array.<br />
6. Press C to create the disk array.<br />
7. Select Save changes then exit this menu to create the array.<br />
8. Exit the Setup utility.<br />
9. Select Exit the Configuration Utility and Restart.<br />
10. When prompt for ‘Stop Controller’, press Enter to continue.<br />
11. Exit the BIOS Setup utility.<br />
C.1.1.2 Using the Platform Recovery Disk<br />
1. Power on the server, insert the Australia Platform DVD to the DVD rom drive.<br />
2. You will see the following message during server bootup “Press any key to boot from CD<br />
…”.When you see this, press a key on the keyboard. (You only have a few seconds to do<br />
this).<br />
3. The first Windows setup screen appears for 30 minutes approximately and then the<br />
system reboots.<br />
4. The second Windows setup screen appears (displaying a count-down timer that starts<br />
around 39 minutes). The system will reboot automatically at the end of setup.<br />
5. Remove Australia Platform disc when reboot is started.<br />
6. The next Windows setup screen will start installing Windows 2003 R2, .NET framework,<br />
security hotfixes and settings for Windows 2003. The system will reboot automatically at<br />
the end of setup.<br />
7. MS SQL Server installation will be started. It takes 45 minutes approximately to complete<br />
the installation.<br />
8. Windows will login automatically to the Windows desktop and launch “Windows Server<br />
Post-Setup Security Updates” page. Click Finish and then Yes to close the page.<br />
9. In the text field type “c:\windows\system32\oobe\msoobe /a” and then click OK.<br />
10. Click OK after a message appears stating that the Windows is already activated (if the<br />
BIOS loaded correctly). If it did not load correctly you may need to update your BIOS with<br />
a valid SLP key.<br />
11. Insert the <strong>CLEARcut</strong> Studio application DVD. A message pops up requiring user's<br />
confirmation to continue. Input “YES" in capital letters to continue, then the device driver<br />
and hotfix will be installed. Afterwards, a menu interface will pop up for the selection of<br />
NMX or <strong>CLEARcut</strong> installation.<br />
C.2 Restoring Windows Server 2003 and SQL 2008 for Dell<br />
PowerEdge 2950 server<br />
The PC server is a Dell PowerEdge 2950 with two slots. One slot is for Audigy Audio and one<br />
is for the Vela hardware decoder card.<br />
A packet of recovery media was included with your system. For server recovery, you need the<br />
following items:<br />
■ Windows 2003 OS disk<br />
© 2011 <strong>Harmonic</strong> <strong>Inc</strong>. 30 <strong>CLEARcut</strong>, Version 3.8, Rev E


