

SMART Board User's Guide - Psychology
SMART Board User's Guide - Psychology
SMART Board User's Guide - Psychology

You also want an ePaper? Increase the reach of your titles
YUMPU automatically turns print PDFs into web optimized ePapers that Google loves.
Writing with the Pen Tool<br />
To write with the Pen tool:<br />
1 Select Pen from the Draw menu.<br />
or<br />
Press the Pen toolbar button.<br />
When moved over the workspace, the cursor becomes a pen icon.<br />
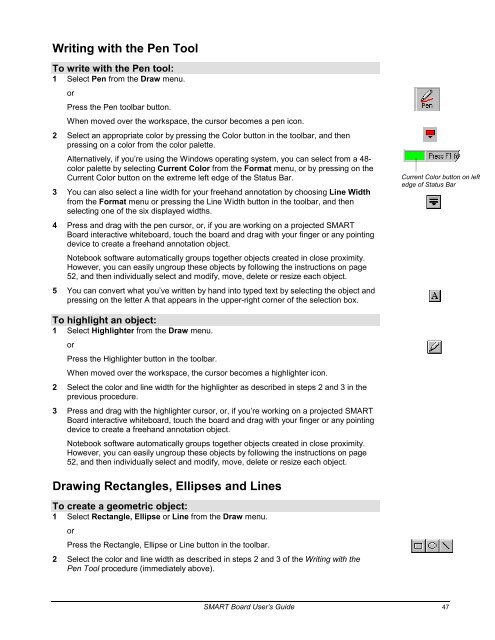
2 Select an appropriate color by pressing the Color button in the toolbar, and then<br />
pressing on a color from the color palette.<br />
Alternatively, if you’re using the Windows operating system, you can select from a 48color<br />
palette by selecting Current Color from the Format menu, or by pressing on the<br />
Current Color button on the extreme left edge of the Status Bar.<br />
3 You can also select a line width for your freehand annotation by choosing Line Width<br />
from the Format menu or pressing the Line Width button in the toolbar, and then<br />
selecting one of the six displayed widths.<br />
4 Press and drag with the pen cursor, or, if you are working on a projected <strong>SMART</strong><br />
<strong>Board</strong> interactive whiteboard, touch the board and drag with your finger or any pointing<br />
device to create a freehand annotation object.<br />
Notebook software automatically groups together objects created in close proximity.<br />
However, you can easily ungroup these objects by following the instructions on page<br />
52, and then individually select and modify, move, delete or resize each object.<br />
5 You can convert what you’ve written by hand into typed text by selecting the object and<br />
pressing on the letter A that appears in the upper-right corner of the selection box.<br />
To highlight an object:<br />
1 Select Highlighter from the Draw menu.<br />
or<br />
Press the Highlighter button in the toolbar.<br />
When moved over the workspace, the cursor becomes a highlighter icon.<br />
2 Select the color and line width for the highlighter as described in steps 2 and 3 in the<br />
previous procedure.<br />
3 Press and drag with the highlighter cursor, or, if you’re working on a projected <strong>SMART</strong><br />
<strong>Board</strong> interactive whiteboard, touch the board and drag with your finger or any pointing<br />
device to create a freehand annotation object.<br />
Notebook software automatically groups together objects created in close proximity.<br />
However, you can easily ungroup these objects by following the instructions on page<br />
52, and then individually select and modify, move, delete or resize each object.<br />
Drawing Rectangles, Ellipses and Lines<br />
To create a geometric object:<br />
1 Select Rectangle, Ellipse or Line from the Draw menu.<br />
or<br />
Press the Rectangle, Ellipse or Line button in the toolbar.<br />
2 Select the color and line width as described in steps 2 and 3 of the Writing with the<br />
Pen Tool procedure (immediately above).<br />
Current Color button on left<br />
edge of Status Bar<br />
<strong>SMART</strong> <strong>Board</strong> User’s <strong>Guide</strong> 47


