Lock-N-Load AP - Hornady
Lock-N-Load AP - Hornady
Lock-N-Load AP - Hornady

You also want an ePaper? Increase the reach of your titles
YUMPU automatically turns print PDFs into web optimized ePapers that Google loves.
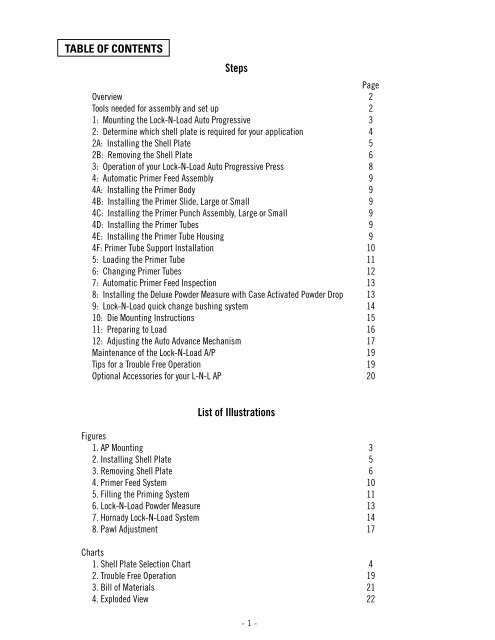
Table of ConTenTs<br />
Steps<br />
Page<br />
Overview 2<br />
Tools needed for assembly and set up 2<br />
1: Mounting the <strong>Lock</strong>-N-<strong>Load</strong> Auto Progressive 3<br />
2: Determine which shell plate is required for your application 4<br />
2A: Installing the Shell Plate 5<br />
2B: Removing the Shell Plate 6<br />
3: Operation of your <strong>Lock</strong>-N-<strong>Load</strong> Auto Progressive Press 8<br />
4: Automatic Primer Feed Assembly 9<br />
4A: Installing the Primer Body 9<br />
4B: Installing the Primer Slide, Large or Small 9<br />
4C: Installing the Primer Punch Assembly, Large or Small 9<br />
4D: Installing the Primer Tubes 9<br />
4E: Installing the Primer Tube Housing 9<br />
4F: Primer Tube Support Installation 10<br />
5: <strong>Load</strong>ing the Primer Tube 11<br />
6: Changing Primer Tubes 12<br />
7: Automatic Primer Feed Inspection 13<br />
8: Installing the Deluxe Powder Measure with Case Activated Powder Drop 13<br />
9: <strong>Lock</strong>-N-<strong>Load</strong> quick change bushing system 14<br />
10: Die Mounting Instructions 15<br />
11: Preparing to <strong>Load</strong> 16<br />
12: Adjusting the Auto Advance Mechanism 17<br />
Maintenance of the <strong>Lock</strong>-N-<strong>Load</strong> A/P 19<br />
Tips for a Trouble Free Operation 19<br />
Optional Accessories for your L-N-L <strong>AP</strong> 20<br />
List of Illustrations<br />
Figures<br />
1. <strong>AP</strong> Mounting 3<br />
2. Installing Shell Plate 5<br />
3. Removing Shell Plate 6<br />
4. Primer Feed System 10<br />
5. Filling the Priming System 11<br />
6. <strong>Lock</strong>-N-<strong>Load</strong> Powder Measure 13<br />
7. <strong>Hornady</strong> <strong>Lock</strong>-N-<strong>Load</strong> System 14<br />
8. Pawl Adjustment 17<br />
Charts<br />
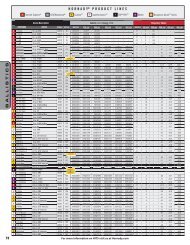
1. Shell Plate Selection Chart 4<br />
2. Trouble Free Operation 19<br />
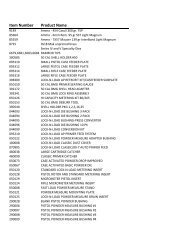
3. Bill of Materials 21<br />
4. Exploded View 22<br />
- 1 -