S1800 Marine Model Ice Machines – Service Manual - Manitowoc Ice
S1800 Marine Model Ice Machines – Service Manual - Manitowoc Ice
S1800 Marine Model Ice Machines – Service Manual - Manitowoc Ice
Create successful ePaper yourself
Turn your PDF publications into a flip-book with our unique Google optimized e-Paper software.
Electrical System Section 6<br />
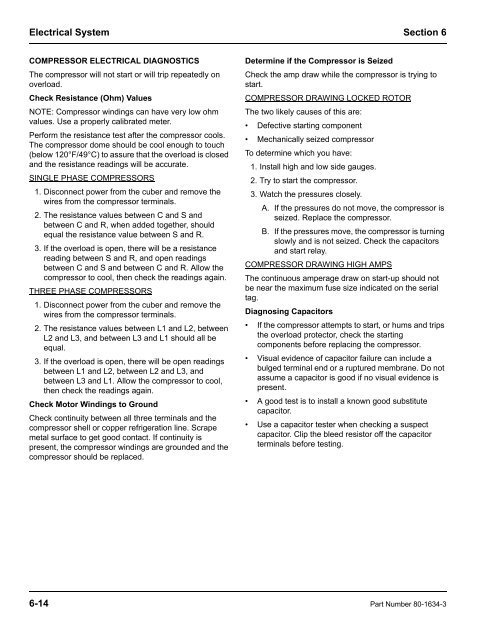
COMPRESSOR ELECTRICAL DIAGNOSTICS<br />
The compressor will not start or will trip repeatedly on<br />
overload.<br />
Check Resistance (Ohm) Values<br />
NOTE: Compressor windings can have very low ohm<br />
values. Use a properly calibrated meter.<br />
Perform the resistance test after the compressor cools.<br />
The compressor dome should be cool enough to touch<br />
(below 120°F/49°C) to assure that the overload is closed<br />
and the resistance readings will be accurate.<br />
SINGLE PHASE COMPRESSORS<br />
1. Disconnect power from the cuber and remove the<br />
wires from the compressor terminals.<br />
2. The resistance values between C and S and<br />
between C and R, when added together, should<br />
equal the resistance value between S and R.<br />
3. If the overload is open, there will be a resistance<br />
reading between S and R, and open readings<br />
between C and S and between C and R. Allow the<br />
compressor to cool, then check the readings again.<br />
THREE PHASE COMPRESSORS<br />
1. Disconnect power from the cuber and remove the<br />
wires from the compressor terminals.<br />
2. The resistance values between L1 and L2, between<br />
L2 and L3, and between L3 and L1 should all be<br />
equal.<br />
3. If the overload is open, there will be open readings<br />
between L1 and L2, between L2 and L3, and<br />
between L3 and L1. Allow the compressor to cool,<br />
then check the readings again.<br />
Check Motor Windings to Ground<br />
Check continuity between all three terminals and the<br />
compressor shell or copper refrigeration line. Scrape<br />
metal surface to get good contact. If continuity is<br />
present, the compressor windings are grounded and the<br />
compressor should be replaced.<br />
Determine if the Compressor is Seized<br />
Check the amp draw while the compressor is trying to<br />
start.<br />
COMPRESSOR DRAWING LOCKED ROTOR<br />
The two likely causes of this are:<br />
• Defective starting component<br />
• Mechanically seized compressor<br />
To determine which you have:<br />
1. Install high and low side gauges.<br />
2. Try to start the compressor.<br />
3. Watch the pressures closely.<br />
A. If the pressures do not move, the compressor is<br />
seized. Replace the compressor.<br />
B. If the pressures move, the compressor is turning<br />
slowly and is not seized. Check the capacitors<br />
and start relay.<br />
COMPRESSOR DRAWING HIGH AMPS<br />
The continuous amperage draw on start-up should not<br />
be near the maximum fuse size indicated on the serial<br />
tag.<br />
Diagnosing Capacitors<br />
• If the compressor attempts to start, or hums and trips<br />
the overload protector, check the starting<br />
components before replacing the compressor.<br />
• Visual evidence of capacitor failure can include a<br />
bulged terminal end or a ruptured membrane. Do not<br />
assume a capacitor is good if no visual evidence is<br />
present.<br />
• A good test is to install a known good substitute<br />
capacitor.<br />
• Use a capacitor tester when checking a suspect<br />
capacitor. Clip the bleed resistor off the capacitor<br />
terminals before testing.<br />
6-14 Part Number 80-1634-3


