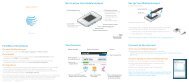
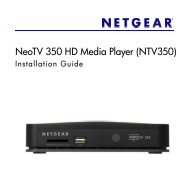
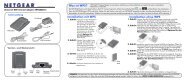
Installation Guide Mini Print Server MODEL PS101 - Netgear
Installation Guide Mini Print Server MODEL PS101 - Netgear
Installation Guide Mini Print Server MODEL PS101 - Netgear

You also want an ePaper? Increase the reach of your titles
YUMPU automatically turns print PDFs into web optimized ePapers that Google loves.
4<br />
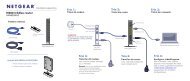
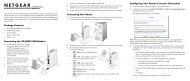
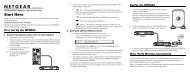
Configure a Computer To Access the<br />
<strong>Print</strong> <strong>Server</strong><br />
Before using the <strong>PS101</strong> on your network, each computer that needs to access the print server<br />
must have:<br />
• A connection to the network.<br />
• The printer added using the NETGEAR Add <strong>Print</strong>er Wizard.<br />
• Either the printer driver software already installed or, if this is a new printer, access to the<br />
printer driver software (either on a CD or downladed to a disk).<br />
To install the Add <strong>Print</strong>er Wizard (for a non-administrative<br />
computer):<br />
Note: You can skip ahead “To configure<br />
computers...” if you have already installed the<br />
NETGEAR software on this computer.<br />
1. Insert the <strong>PS101</strong> <strong>Print</strong>er <strong>Server</strong> Resource CD in<br />
the CD-ROM drive. NETGEAR <strong>Print</strong> <strong>Server</strong><br />
Software <strong>Installation</strong> wizard starts up<br />
automatically. If it doesn’t, double-click My<br />
Computer, double-click your CD-ROM drive,<br />
and double-click Setup.exe.<br />
2. Follow the instructions in the installation wizard to<br />
install the software.<br />
3. When asked, select only the NETGEAR Add <strong>Print</strong>er Wizard.<br />
6<br />
4. Click Finish.