Magster-280 4x4,-330 4x4 - Lincoln Electric - documentations
Magster-280 4x4,-330 4x4 - Lincoln Electric - documentations
Magster-280 4x4,-330 4x4 - Lincoln Electric - documentations

Erfolgreiche ePaper selbst erstellen
Machen Sie aus Ihren PDF Publikationen ein blätterbares Flipbook mit unserer einzigartigen Google optimierten e-Paper Software.
3. Drive Roll Ø 30mm: Depend on he electrode wire<br />
type and its diameter you should use rolls with<br />
proper shape and groove size (see section<br />
“Accessories”).<br />
4. Roll Presure Arm<br />
Welding Voltage Adjustment Range<br />
Diagrams below present voltage and current values,<br />
which can be obtained for individual settings. However,<br />
you should remember that these values depend on the<br />
way carrying on the welding gun by welders.<br />
5. Connector Pipe<br />
6. Guide Tube of the Wire Drive: Inserts the wire intio<br />
thewiredrive.<br />
7. Roll Fastening Nut<br />
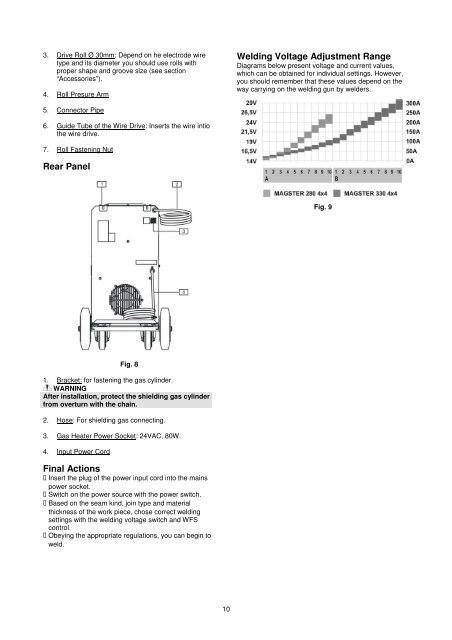
Rear Panel<br />
Fig. 9<br />
Fig. 8<br />
1. Bracket: for fastening the gas cylinder.<br />
WARNING<br />
After installation, protect the shielding gas cylinder<br />
from overturn with the chain.<br />
2. Hose: For shielding gas connecting.<br />
3. Gas Heater Power Socket: 24VAC, 80W.<br />
4. Input Power Cord<br />
Final Actions<br />
Insert the plug of the power input cord into the mains<br />
power socket.<br />
Switch on the power source with the power switch.<br />
Based on the seam kind, join type and material<br />
thickness of the work piece, chose correct welding<br />
settings with the welding voltage switch and WFS<br />
control.<br />
Obeying the appropriate regulations, you can begin to<br />
weld.<br />
10