CB - President Electronics
CB - President Electronics
CB - President Electronics
Erfolgreiche ePaper selbst erstellen
Machen Sie aus Ihren PDF Publikationen ein blätterbares Flipbook mit unserer einzigartigen Google optimierten e-Paper Software.
european<br />
Multi-norms<br />
Our <strong>CB</strong> <strong>President</strong> range is now in compliance with the with the new RoHS standard and all our transceivers are<br />
«European Multi- Norms». You will find here under the different ways corresponding to the different models for<br />
access to the norm of the country where you drive.<br />
The frequency bands have to be chosen according to the country of use. Don’t use any other configuration. Some<br />
countries need a user’s licence. See the configurations/ frequency bands table in the user’s manual of your <strong>President</strong>.<br />
22<br />
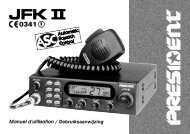
HARRY III ASC / JFK II ASC / JOHNNY III ASC / JOHNSON II ASC / TEDDY ASC / TRUMAN ASC<br />
a) Switch off the <strong>CB</strong> radio.<br />
b) Keep the key F pressed.<br />
c) Switch on again.<br />
d) Turn the channel selector and select the wanted frequency band (see the table in the user’s manual).<br />
e) Press 1 second on the F key.<br />
f) Switch off the transceiver again and then switch it on in order to confirm your choice.<br />
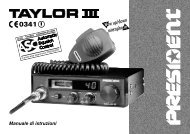
TAYLOR II Classic and TAYLOR III ASC<br />
a) Switch off the <strong>CB</strong> radio.<br />
b) Press and hold the PTT button of the microphone and then switch on <strong>CB</strong> radio. The letter corresponding to configuration<br />
is blinking.<br />
c) To choose the configuration turn the channel selector rotary knob or use buttons UP/DN of the microphone.<br />
d) Press the PTT button of the microphone one second until the letter corresponding to configuration stops blinking<br />
to confirm the configuration.<br />
e) Switch the <strong>CB</strong> radio off in order to save.<br />
RANDY II / THOMAS ASC* / WILLIAM ASC*<br />
a) Switch off the <strong>CB</strong> radio.<br />
b) Press and hold the F (*MENU) key and then switch on the <strong>CB</strong> radio. «F» and the letter corresponding to configuration<br />
is blinking.<br />
c) In order to change the configuration, use the / keys on the front panel or UP and DN on the microphone<br />
(see the table in the user’s manual).<br />
d) When the configuration is selected, press on the F (*MENU) key during 1 s. «F» and the letter corresponding to<br />
the configuration is continuously displayed.<br />
e) At this stage, confirm the selection by switching off then switching on again the transceiver.<br />
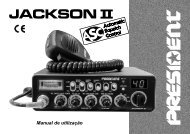
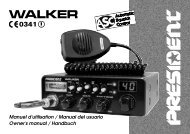
JACKSON II ASC / WALKER ASC<br />
a) Switch off the transceiver.<br />
b) Put the switch on «F» position and switch on again. The lletter corresponding to configuration is blinking.<br />
c) In order to change the configuration, use the channel selector on the front panel or the UP/DN keys of the microphone.<br />
d) When the configuration is selected, put the switch on «OFF». The letter that corresponds to the configuration are<br />
continuously displayed.<br />
e) At this point, confirm the selection by switching off the transceiver and then switching it on again.


