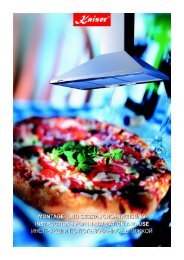
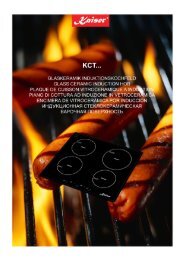
Посмотреть инструкцию - Фирменный интернет-магазин ...
Посмотреть инструкцию - Фирменный интернет-магазин ...
Посмотреть инструкцию - Фирменный интернет-магазин ...

Sie wollen auch ein ePaper? Erhöhen Sie die Reichweite Ihrer Titel.
YUMPU macht aus Druck-PDFs automatisch weboptimierte ePaper, die Google liebt.
2<br />
4<br />
64<br />
1<br />
2<br />
3<br />
Removing inner glass<br />
EN<br />
To remove the inner pane, screw out the screw 1<br />
and open the plastic latches 2 located in the upper<br />
corners of the door. Now pull the glass carefully to<br />
set it free from the second blocking device. Take<br />
the glass out. Insert the clean glass back carefully<br />
and lock it by means of the blocking device.<br />
Replacing the oven light<br />
The oven light 3 should have the following<br />
parameters:<br />
a) temperature resistance – up to 300°C<br />
b) power supply: see V/Hz indicated on data plate.<br />
c) power input: 25W.<br />
d) E 14 connection.<br />
• to prevent damage, put a cloth into the oven<br />
• screw out the glass cover of the light<br />
• screw out the old bulb and replace it with<br />
the new one<br />
• adjust the glass cover and remove the cloth<br />
• connect the appliance to the mains<br />
electricity supply<br />
Fan filter<br />
Attention! First of all disconnect the<br />
appliance from the power supply.<br />
In case your oven is equipped with the net filter<br />
which protects the fan from the drops of fat, take<br />
out the filter every time you use the oven<br />
intensively and wash it in hot water with washing-up<br />
liquids.<br />
To withdraw the filter, pull the handle 4 upwards.<br />
To mount the filter, insert its ledges into a label on<br />
the wall and carefully pull it downwards. The filter is<br />
fixed at the protective casing of the fan.