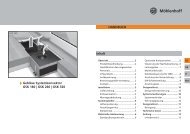
Руководство по установке QSK HK
Руководство по установке QSK HK
Руководство по установке QSK HK

You also want an ePaper? Increase the reach of your titles
YUMPU automatically turns print PDFs into web optimized ePapers that Google loves.
DEU<br />
ENG<br />
RUS<br />
ITA<br />
DAN<br />
Installation<br />
4<br />
5<br />
6<br />
7<br />
8<br />
1<br />
2<br />
3<br />
Bottom view<br />
4<br />
1<br />
2<br />
3<br />
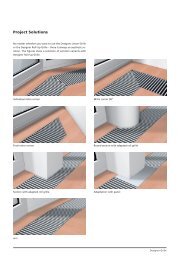
Exterior adjustment block<br />
Interior adjustment block<br />
Interior adjustment block for window-flushing<br />
installation (not fixed)<br />
Interior adjustment block: Screw in the threaded bolts<br />
Interior adjustment block: Height adjustment<br />
Levelling<br />
Exterior adjustment block: Latch into the trough profile<br />
Exterior adjustment block: Fix with screws<br />
5<br />
7<br />
6<br />
8<br />
44<br />
Installation cover<br />
The tube connection side is marked<br />
<br />
Remove the protective cover permanently<br />
only after finishing the installation<br />
of the system convector and after<br />
finishing all building work. By this you<br />
avoid contamination and damage to<br />
the system convector.